Authentic Irish Scones Recipe (Easy & Traditional)

If there’s one recipe that brings me right back to my childhood in Ireland, it’s these scones. Light, tender, and never too sweet—this is the kind of scone nearly every Irish kid learns how to bake. My mother taught me how to make them when I was young, and now I pass the same tradition on to my boys.
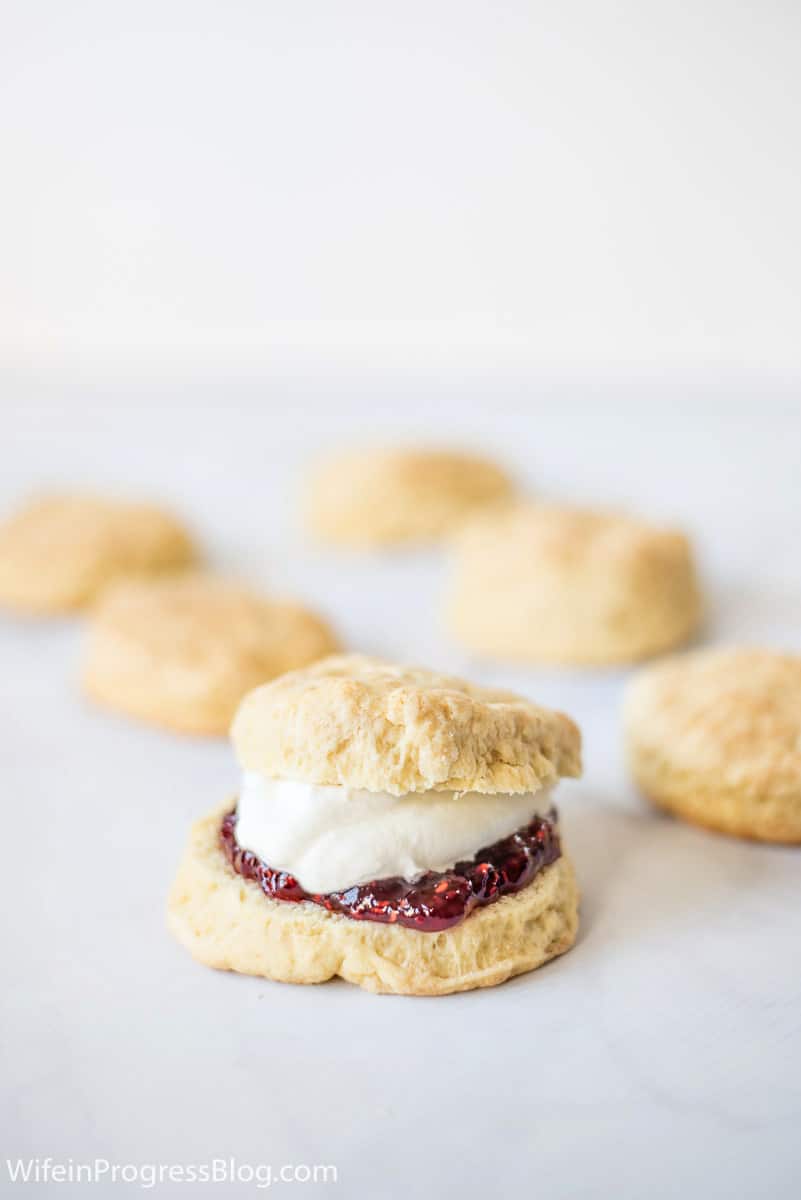
In Ireland, we don’t reserve scones for special occasions—they’re a daily treat. Whether it’s tea time or an after-school snack, a warm scone slathered in butter and jam hits the spot. No clotted cream needed—just the classics.
Why You’ll Love This Recipe
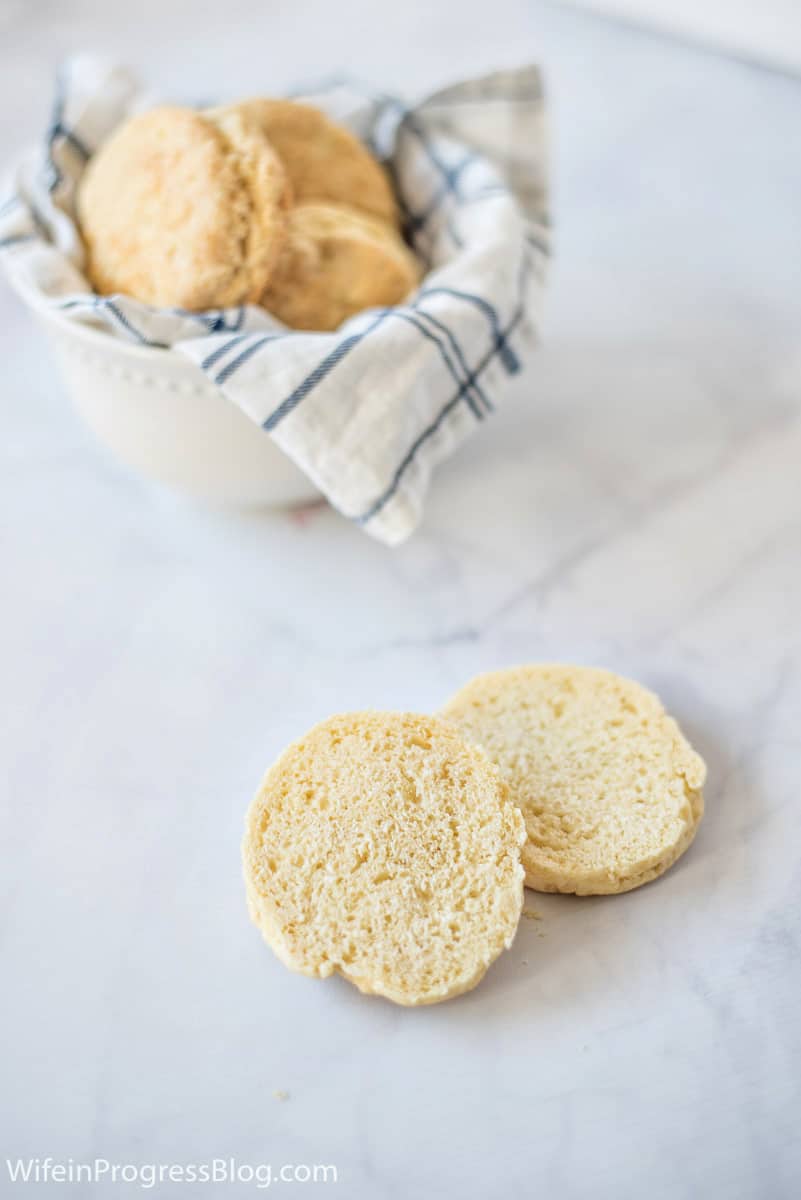
- Perfect Texture – Thanks to cold butter and buttermilk, you get a tender crumb and golden top
- Authentic & Simple – This is the real deal, since I was born & raised in Ireland
- Quick to Make – From mixing bowl to oven in 10 minutes.
Ingredient Notes
- All-Purpose Flour – Sifted for extra lightness.
- Sugar – Just a touch to balance the flavor.
- Baking Powder + Baking Soda – These give the scones their signature rise.
- Salted Irish Butter – I use Kerrygold for its rich, creamy taste.
- Cold Buttermilk – Adds moisture and tenderness. (You can substitute with milk + a splash of lemon juice in a pinch.)
- Egg – For richness and golden tops (optional egg wash at the end).
Variations
- For a healthier option, substitute white flour with whole wheat ( or do a 50/50 mix).
- Add dried currants or sultanas for a sweet version. If you only have raisins, soak them in warm water for 15 minutes before incorporating them into the mix, so that they’re plump and juicy and don’t dry out.
- For a savory version, add sharp cheddar and herbs.

Instructions
- Preheat the oven to 425°F (220°C). Line a baking sheet with parchment or lightly flour it.
- Mix dry ingredients. In a large bowl, whisk together flour, sugar, baking powder, baking soda, and salt.
- Rub in the butter. Use your fingertips to quickly rub the cold butter into the flour until the texture resembles fine breadcrumbs.
- Add wet ingredients. In a small bowl, whisk the egg and buttermilk together. Make a well in the flour mixture and gently mix the wet ingredients in with a fork or your hands. The dough will feel a little shaggy, but it will come together!
- Shape the dough. Turn the dough out onto a lightly floured surface. Knead just 2–3 times to remove cracks, then pat or roll it out to 1-inch thick.
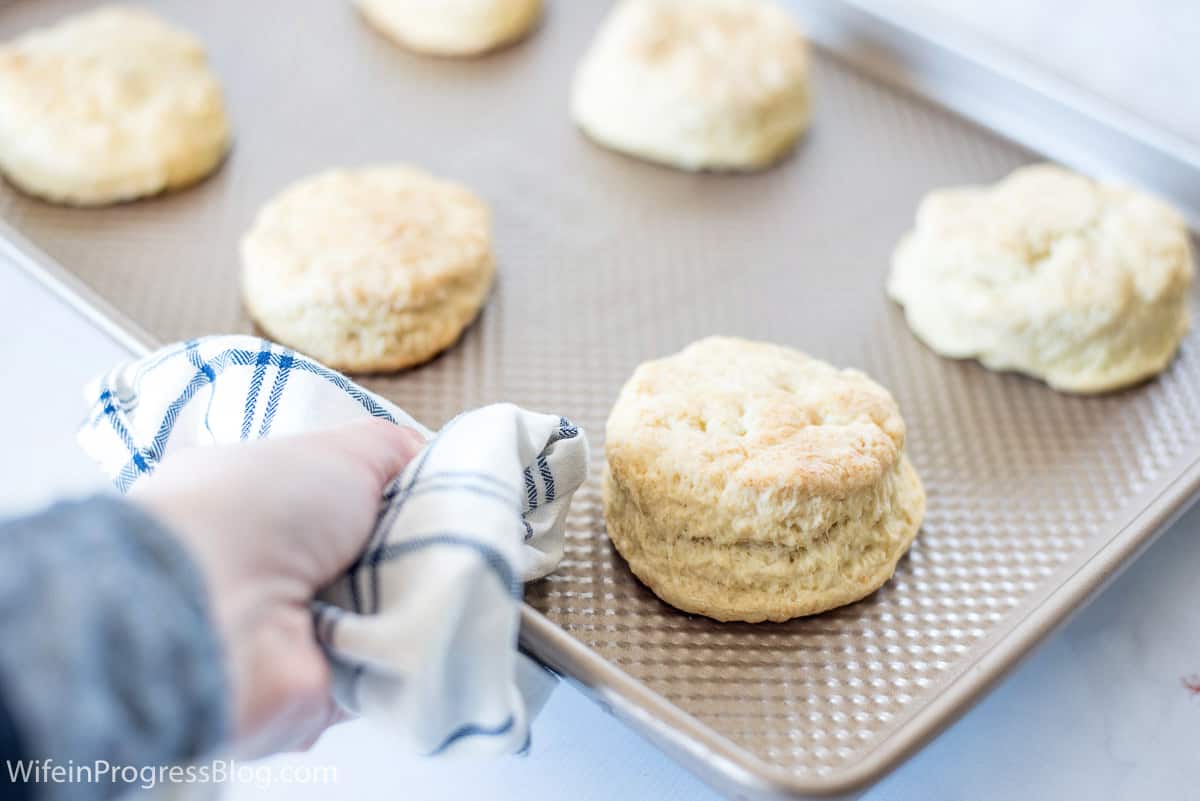
- Cut and bake. Cut into rounds using a 2-inch cutter or floured glass. Place on the baking sheet. Brush with egg wash (or milk) for a golden top. Bake for 10–15 minutes until risen and golden brown.
Storage
- Room Temp: Keep in an airtight container for up to 3 days.
- Freezer-Friendly: Freeze once cooled and reheat in a low oven or toaster.
Frequently Asked Questions
Yes, you can just regular milk, but I highly suggest using buttermilk. The buttermilk creates a softer crumb, but they are still good without it.
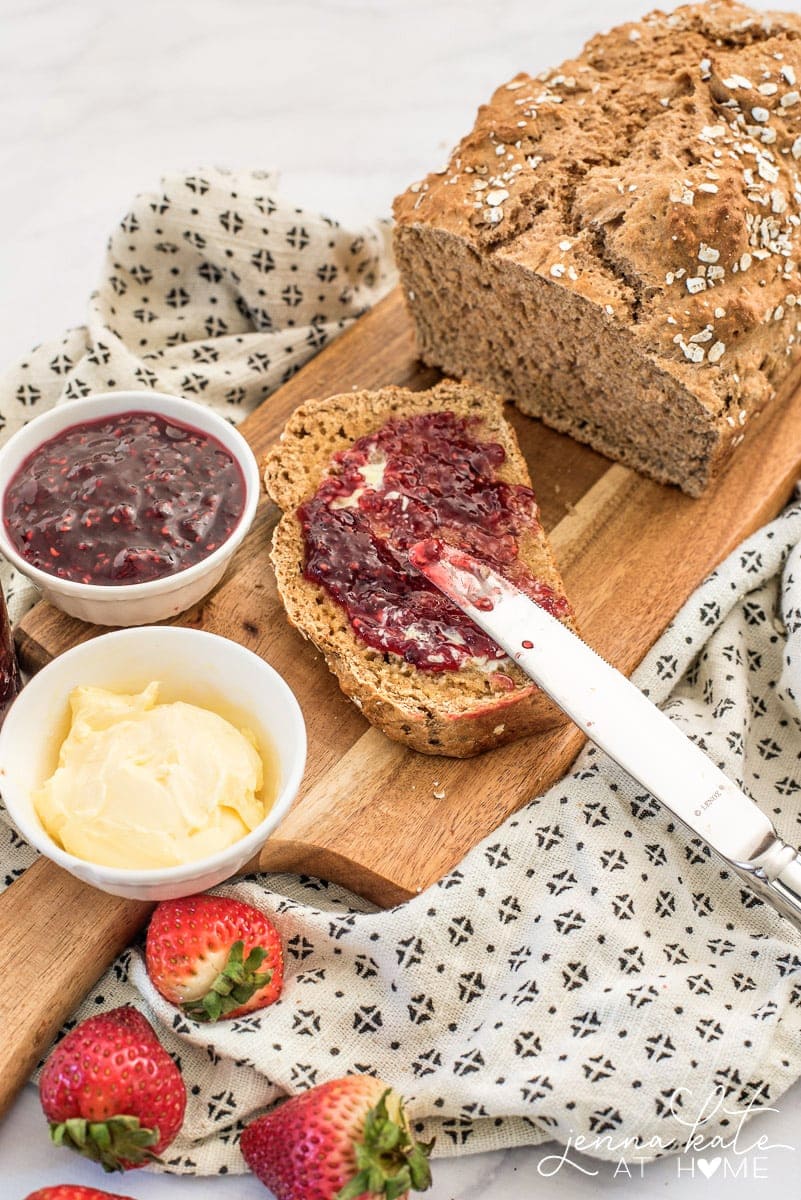
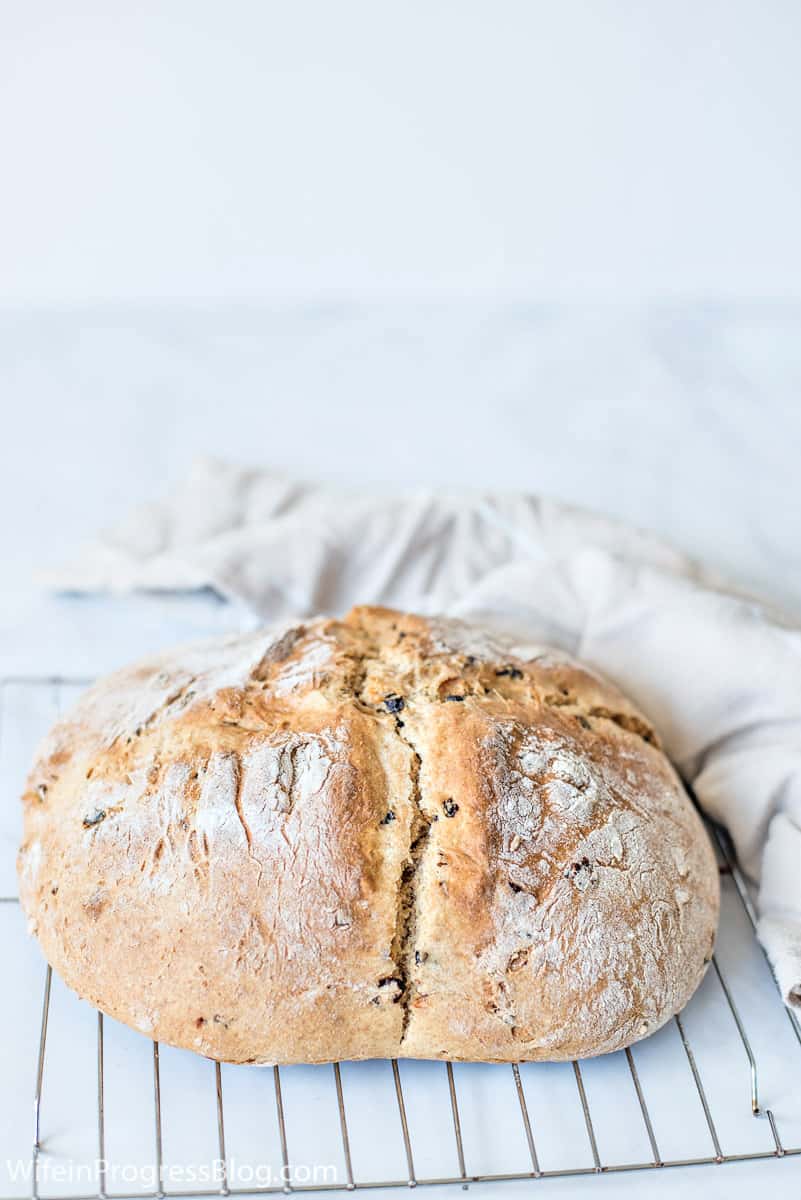
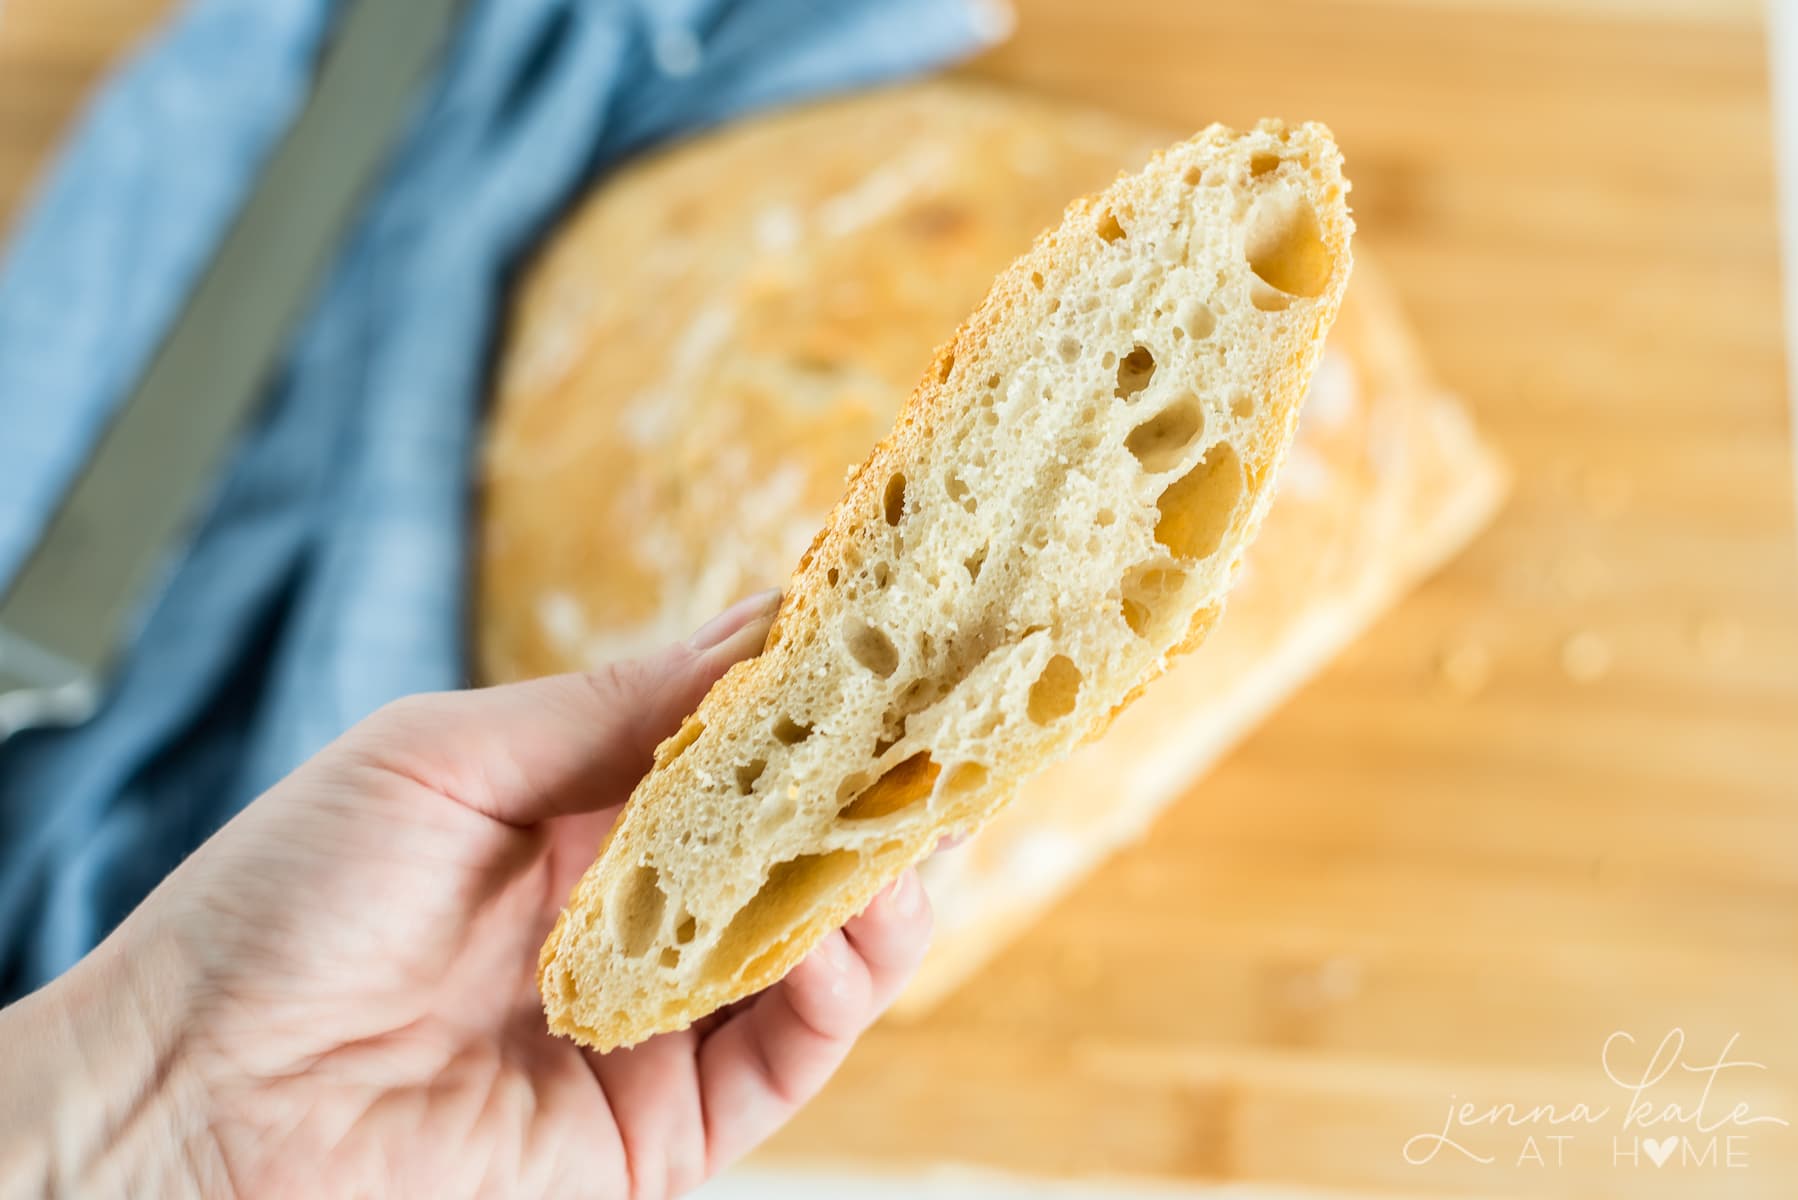
Irish soda bread is denser, and less sweet. Scones have a much higher ratio of butter, and are considerably lighter and fluffier.
Irish scone dough is meant to be just barely held together. Don’t overmix—it should feel soft but not sticky. If it’s still crumbly, really try working it with your hands to make it come together. If after a few minutes that doesn’t work, add another teaspoon of buttermilk until it comes together.
They should be golden on top and nicely risen.
Whether you’re celebrating your Irish heritage, baking for St. Patrick’s Day, or just want something cozy to enjoy with a cup of tea, these traditional Irish scones are the perfect choice. They come together quickly with simple ingredients, and once you try them fresh out of the oven with butter and jam, you’ll understand why they’re a staple in Irish homes. I hope this recipe becomes a favorite in your kitchen too!


Traditional Irish Scone Recipe

Ingredients
- 2 ½ cups all purpose flour sifted
- ¼ cup sugar
- 1 tablespoon baking powder
- 1 tsp baking soda
- generous pinch of salt
- 1¼ sticks salted butter cold and cut into cubes
- ½ cup buttermilk cold
- 1 large egg
Instructions
- Preheat oven to 425°F / 220°C. Sift flour, baking powder, baking soda and salt into a large bowl. Stir in sugar.
- With your hands, rub the butter into the flour until it resembles course breadcrumbs.
- In another bowl, mix the egg into the buttermilk.
- Create a well in the middle of the flour mixture. Slowly add the buttermilk and egg until you have a soft dough. It should just come together and you should be able to handle it without it being really sticky.
- Place the dough on a floured surface and knead a couple of times just to remove any cracks. If the dough is too sticky, add more flour.
- Roll out to around 1 inch thick and cut with a cutter or glass dipped in flour.
- Place on a floured/buttered baking sheet (or use parchment paper). You should get about 6 – 8 scones.
- Brush each scone with milk or an egg wash (egg + drop of water) to help brown the tops when baked.
- Bake for 10 – 15 minutes or until the scones are golden.
- Best served immediately but can be warmed the following day or eaten cold.

I’ve made these so many times in the past gives years that I’ve lost count they are a favorite for Thanksgiving and Christmas morning, when guests stay over or just when we know it will be a busy week. Everyone raves about them! Thanks for making your recipe a staple family favorite.
Hi you say use self raising flour in the commentary and then the recipe calls for all purpose flour. So if using self raising flour do you still add baking powder or is the baking powder only added if using the all purpose flour?
Either use self-raising OR AP + baking powder. The self raising has the baking powder in it already.
Thank you! I made these today exactly as the recipe states and they were beautifully good! I have never made them before and the recipe was so fast and easy! This Texas girl is in heaven!
So happy you liked them!
Visited Ireland just over a month ago and wanted to reproduce one of my favorite things that I ate… Irish scones! We stopped at a place near Giants Causeway called The Nook and had the most amazing scones there. My aunt who was with us on the trip called them and asked for the recipe, but all they would tell her was they contained AP flour and buttermilk. I searched online for Irish scone recipes that used buttermilk and I found your recipe. I just gave it a shot and these came out amazing! I did cube and freeze my butter ahead of time and also added a 1/2 cup of currants right before I added the wet ingredients and these things are absolutely delicious. I just texted my aunt the link to your page so that she could make them too. Thank you!
Excellent scones. I soaked 1/4 cup of organic raisins in hot water for 10 minutes, drained and cooled then added to dough just as it’s being rolled out. This is in preparation for afternoon tea for my tenant, who likes his scones with clotted cream and jam. This trial run was a success and next I turn my attention to homemade clotted cream as this item is not available ready made in up country Hawaii. Net 13 scones using a 2 inch cookie cutter.
That’s a lot if baking powder. One tablespoon, are you sure that is correct? Thanks!
Positive!
They look so good. What could I use to make them green for st Patrick’s day?
Thanks!
You would never find them green in Ireland lol but I guess green food coloring would do the trick
I made them for the Music City Marathon, in Nashville in April and this little boy about 6 came up to me and said, thank you for bringing them, they are so good. I asked him if he got time strawberry jam and Irish butter or cream, he said no I like them just like this. I was so taken back and thought he was so mature to come to me and say that. He then asks me for the recipe. I sister live in Ireland and these were much better than hers.
Brenda Gainey
That makes me so happy, Brenda! Thanks for sharing!!
What size cutter is best for these scones ?
3-4 inches is good!
Love this recipe! My favorite thing when we visited Ireland – besides Guinness 😉 – was seafood chowder. I ate it daily! I loved the rich, creamy, potato goodness with both fresh and smoked fish. Do you (or your mom) have a recipe for it? In Ireland, Aldi sells a frozen seafood pack for chowder. Sadly, it’s not sold here in the states.
You know it’s funny because I never had chowder until I moved to Boston 😆 so unfortunately I don’t have a recipe for that!
These were delicious! In fact, they were so good I’ve used this as a base recipe for other versions: one with currants (increased sugar to 1/2C on those), and an Irish cheddar, bacon & scallion version! Thank you!
I make them with currants all the time too! So good!
These were the best scones I have ever made! We are a tea and scone family, and I make all sorts, but these exceeded them all. These scones are perfect with butter and jam or whip cream and jam, as my kiddos prefer. Thank you for this recipe. I am making your Irish brown bread to go with soup tonight.
Thanks so much, Mandy! It makes me so happy that you loved them!
I made these and served them with jam and clotted cream and they were delicious! I’ve tried a few of your recipes so far and they have all been wonderful. Thanks!
Thanks Cherie! I’m so happy you enjoyed them and my other recipes too :-)
Recently returned from 2 weeks in Ireland. Tour stopped at a B&B where hostess served breads and pastries, but just LOVED her scones! They were wonderful and had a dusting of sugar on top. Scones were offered at the hotels where we stayed, but they were hard and tasteless after having hers. Going to try this recipe. She invited us to ask for her recipe and you can be sure I will! The visit was wonderful!
Can I use half & half if I don’t have buttermilks
I’ve never tried half and half but it should be fine! Regular milk works too….it just alters the taste and texture a bit.
Should the butter be cold or room temperature?
cold! straight out of the fridge
If you are making these for a brunch (served around 11 a.m.), do you make them in early morning same day, or make them the night before?
I would make them fresh in the morning if you have time, but the day before also works!
Is it baking soda or baking power? Notice you mention its banking soda in the description and the recipe ingredients list calls for baking power? Thanks
Not sure I’m missing it. As I followed directions. Towards the end I noticed the step for sugar was missing. So tried to add at the end. Will see what happens
Looks yummy
It’s in step 1!
I’m making these tomorrow morning. We are expecting a hurricane but at least I will enjoy tea and scones for breakfast first! I wonder if I can mix the dry ingredients now and then in the morning rub in the butter? Is it ok to put the baking powder into the flour in advance?
Hi Carol! I’ve never tried mixing the dry ingredients in advance because they are so quick to make! If you do, let me know how it goes!
I made these for St Paddy’s Day and got RAVE reviews from my coworkers. We added lemon curd and gooseberry jam! Delicious
Yay I’m glad they worked out!
I made these yesterday and they were wonderful. Thank you for sharing this recipe! I will be making them again and again! Yum!
I’m so glad you enjoyed them!!
I just made these for an afternoon tea on St. Patrick’s day, they are so delicious!
Yay! I’m so glad you enjoyed them – I love them, too!
At what point do you put the baking powder in??
Hi Jacqueline, the baking powder should be combined with the flour.
Hi Jenna! I want to try these because I am a failure at making biscuits! When do you add the egg?
Hi Ann! Oops! Just whisk it into the buttermilk before adding it to the dough ????