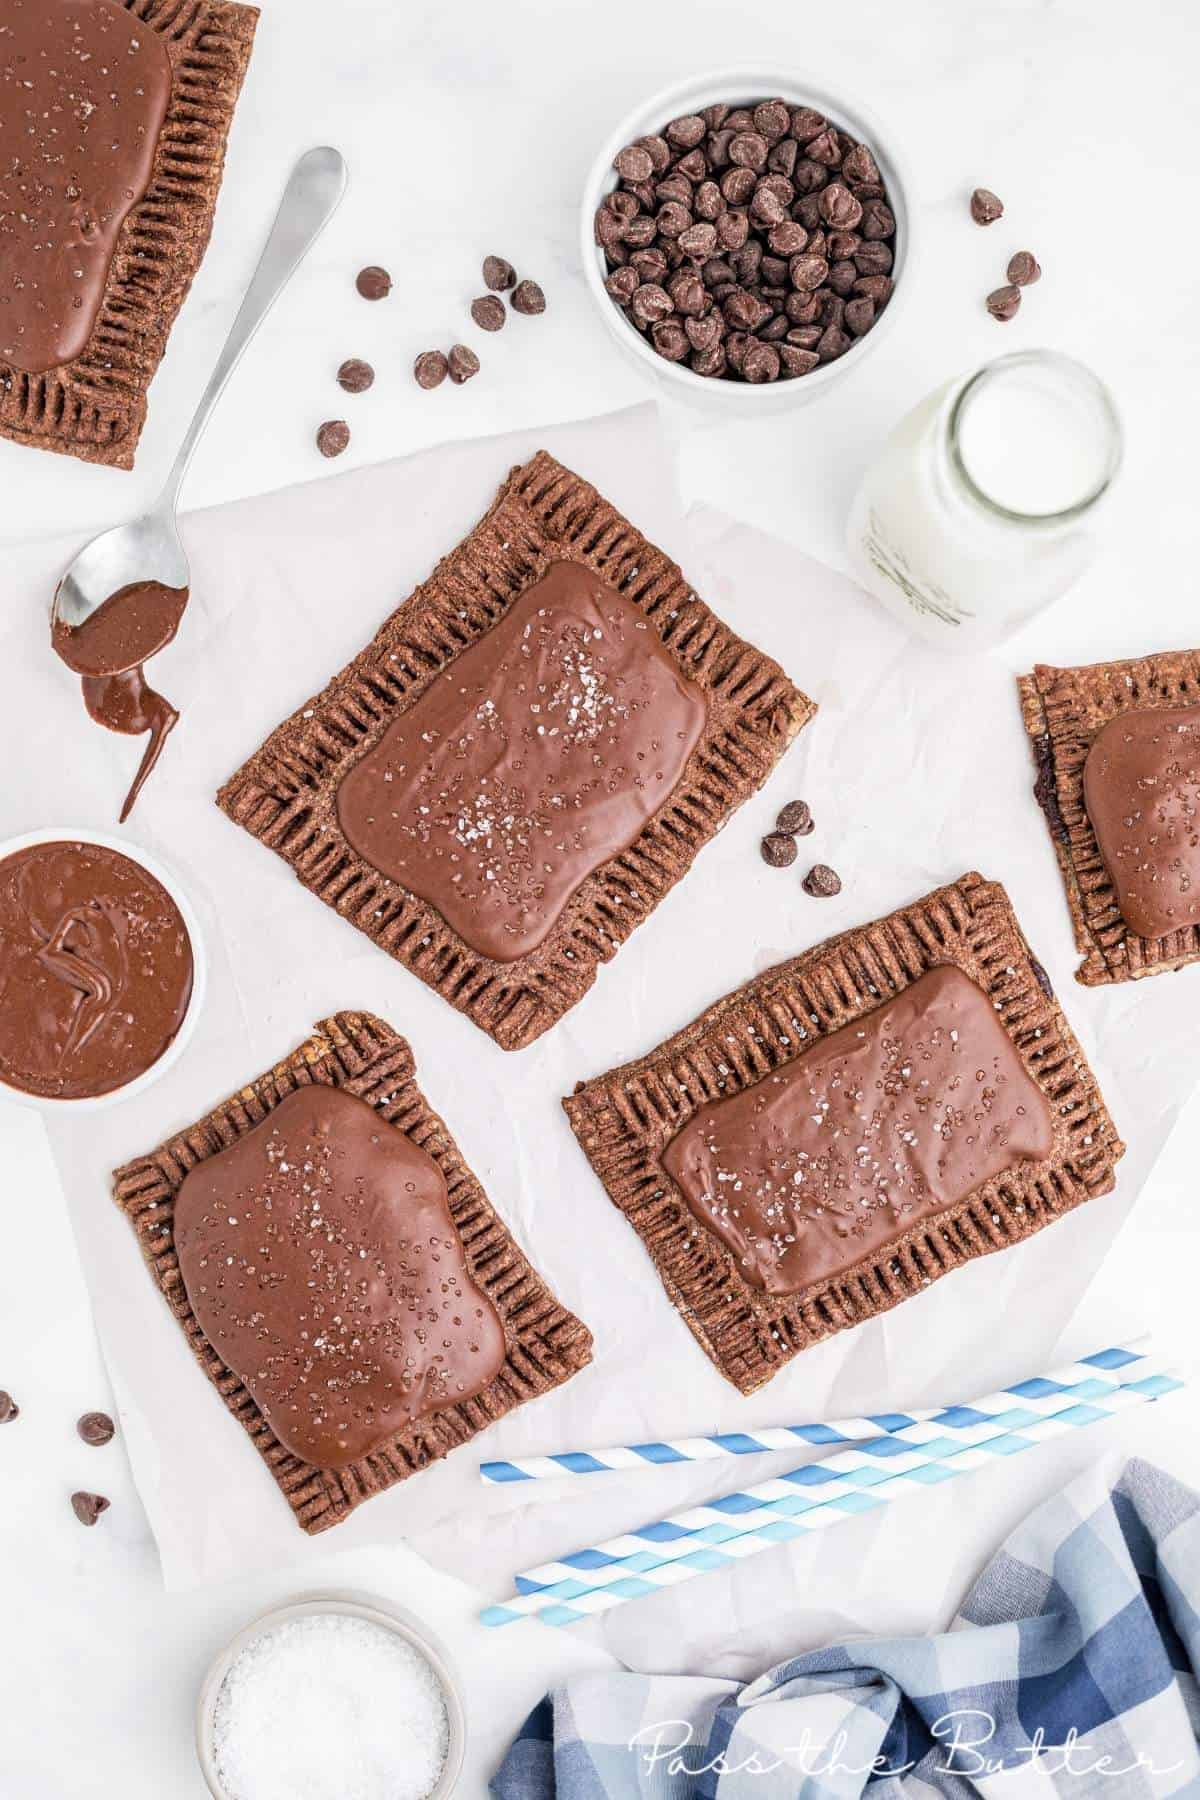
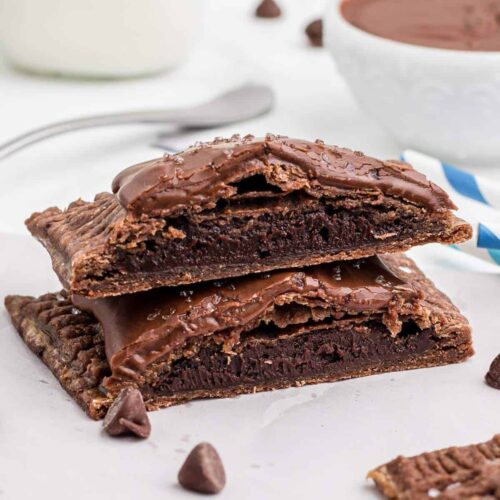
Chocolate Pop Tarts

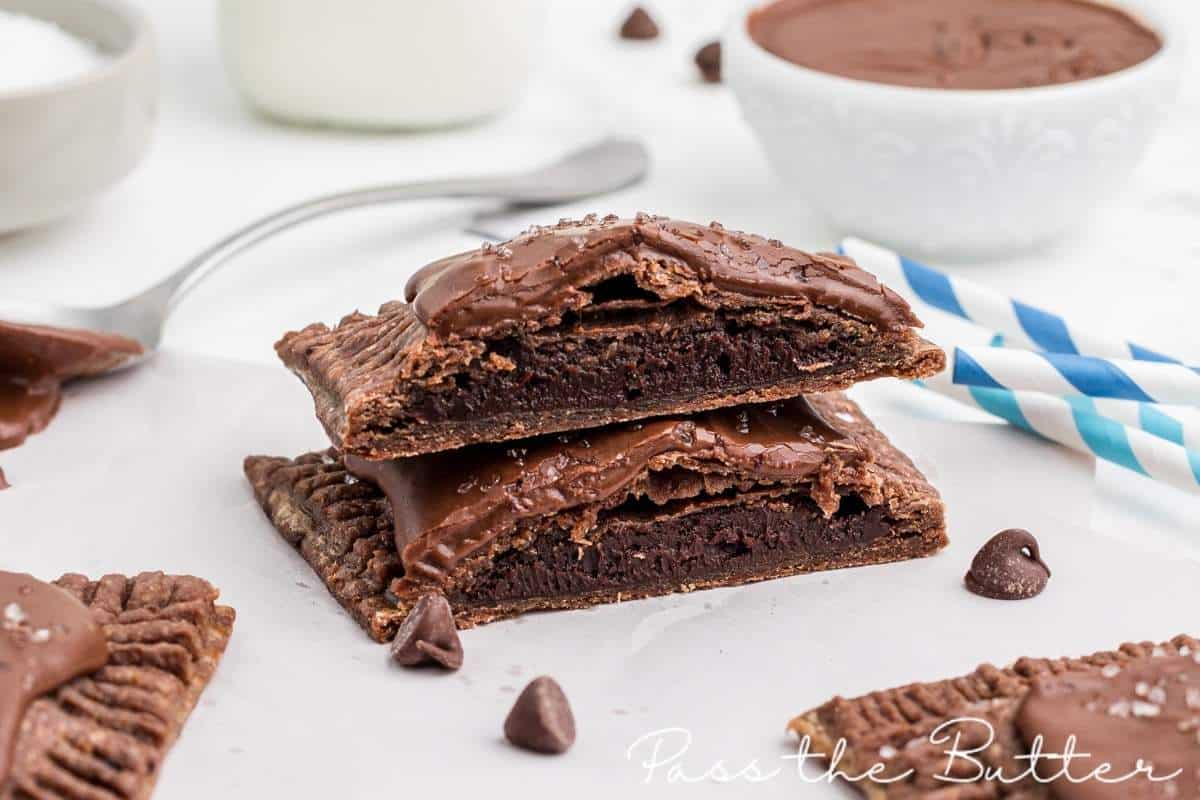
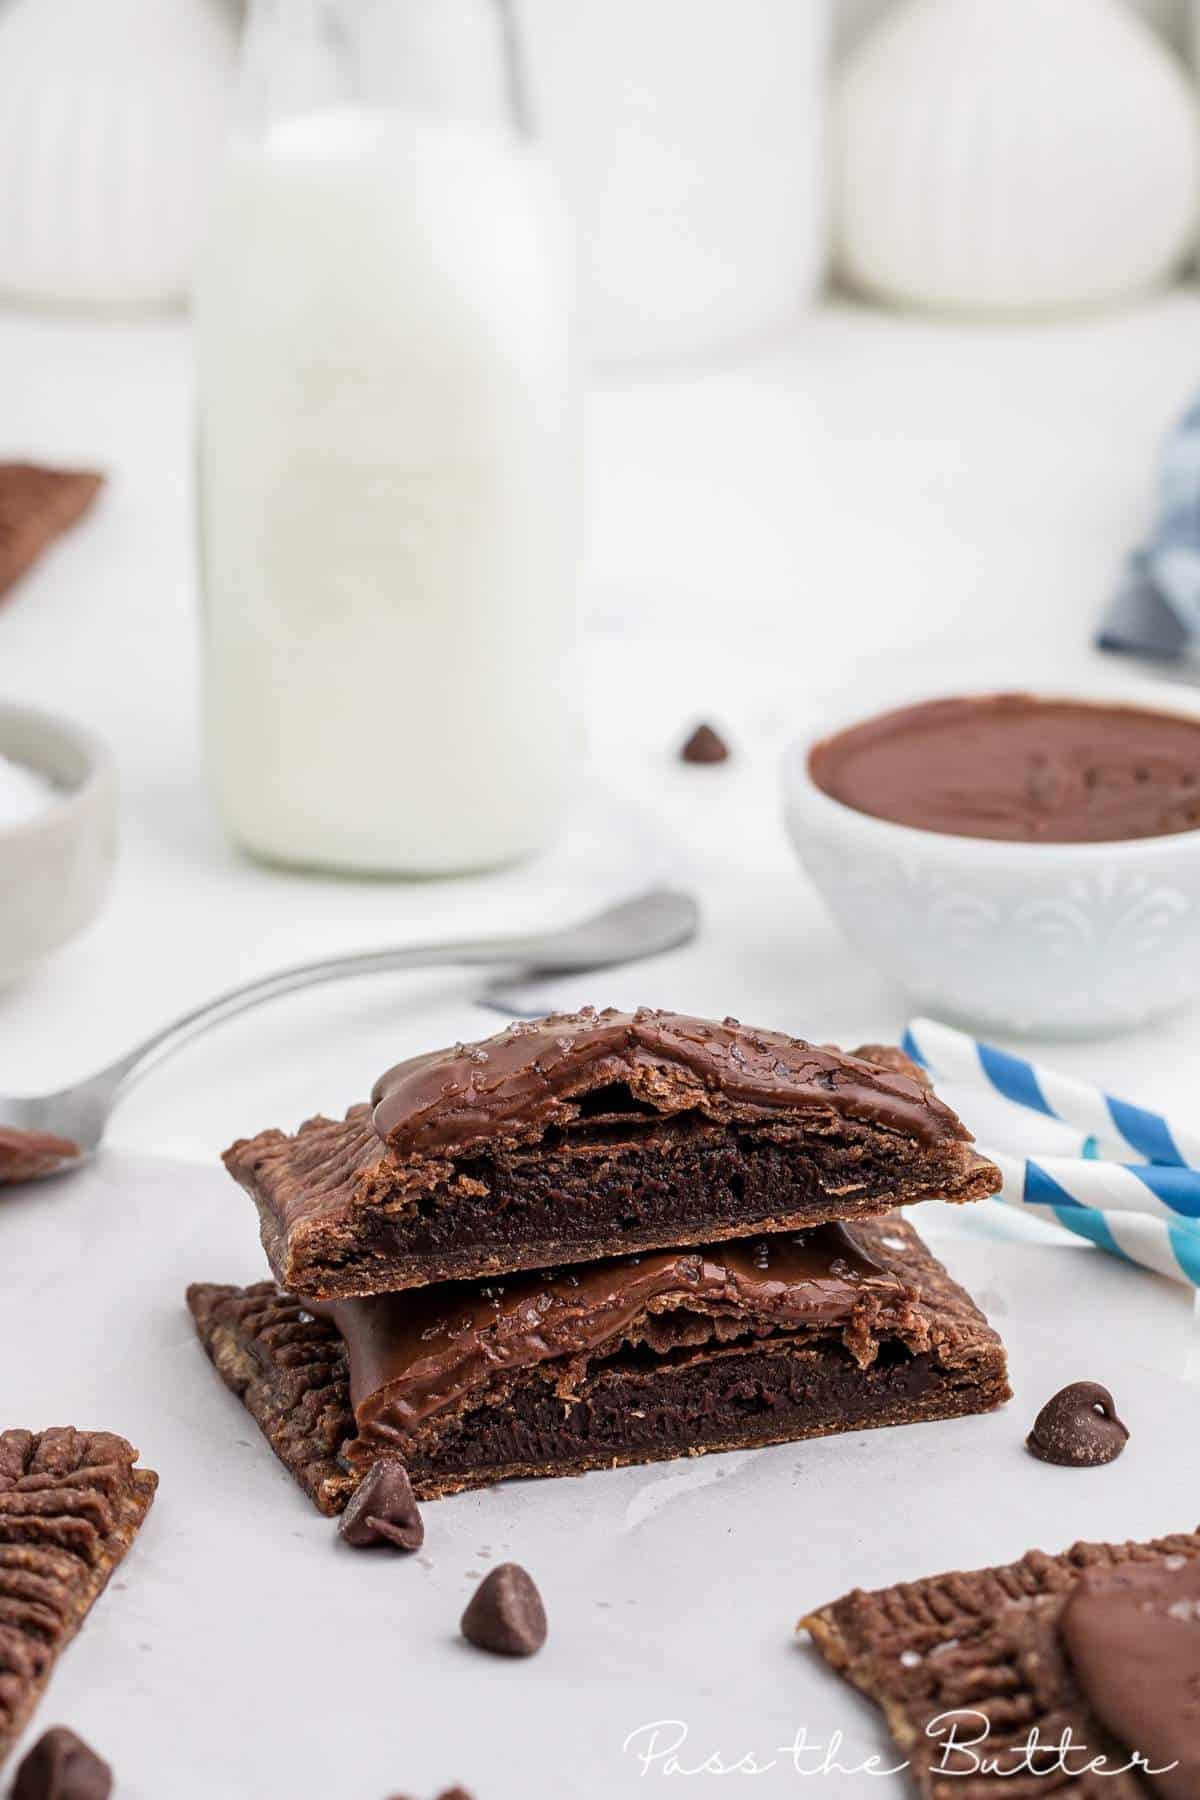
Indulge your inner child with these homemade chocolate pop tarts. A decadent fudge center sandwiched between two layers of chocolate dough will ensure you’ll never have to get the store-bought version again.
Pop tarts have been around since I can remember, but were always considered a once-a-year kind of treat in my household. We were never allowed sugary breakfasts so even when we did get to indulge, they were a snack!
Of course, I absolutely adored eating them when the chance came and now that I’m adult, the craving still hits every so often. It’s always fun to try and recreate a childhood favorite in an at-home recipe, and these have been top of my list for some time.
I love how these homemade pop tarts turned out – their decadent chocolate fudge center really makes them a delicious little treat any time of the day!
Why This Recipe Works
- The chocolate fudge center and delicious icing on top makes these a firm favorite with kids and adults.
- The dough is really easy to make in the food processor – if you don’t have a food processor just rub the butter into the flour using your fingers to make the pea size balls. The dough comes together really easily, you are going to be surprised once you have that part done how quickly the rest is done.
- The fact that these pop tarts are homemade means there’s no sneaky bad ingredients. You know exactly what’s in them. No preservatives or extra additives. Good, wholesome, sweet tooth channeling chocolatey goodness.
Ingredients

- Unsweetened Cocoa Powder – use Natural Unsweetened instead of the Dutch version as that may be too rich.
- Heavy Cream – heavy cream adds richness to the chocolate fudge filling.
- Semi-sweet chocolate chips: The perfect not-too-sweet chocolate
- Salted Butter: Cold butter is essential to get the perfect texture on the pastry.
The rest of the recipe is rounded out with:
- Vanilla Extract
- All Purpose Flour
- Granulated Sugar
- Egg
- Confectioner’s Sugar: For the icing
- Milk Chocolate for the icing on top – you could also use dark chocolate.
- Coarse Sugar (or Salt) for decoration
Variations
- Sprinkles – use sprinkles instead of sugar or salt.
- Half and Half – use half and half (or even milk) instead of the cream, for the fudge filling. It won’t be as rich, but it will work.
- Chocolate – feel free to use milk chocolate or dark chocolate if that’s what you have. I find the semi-sweet is the perfect balance for the filling, but the icing is good with either milk or dark chocolate depending on your taste preferences.
- Add peanut butter to the chocolate fudge filling for the perfect sweat and salty treat!
Instructions
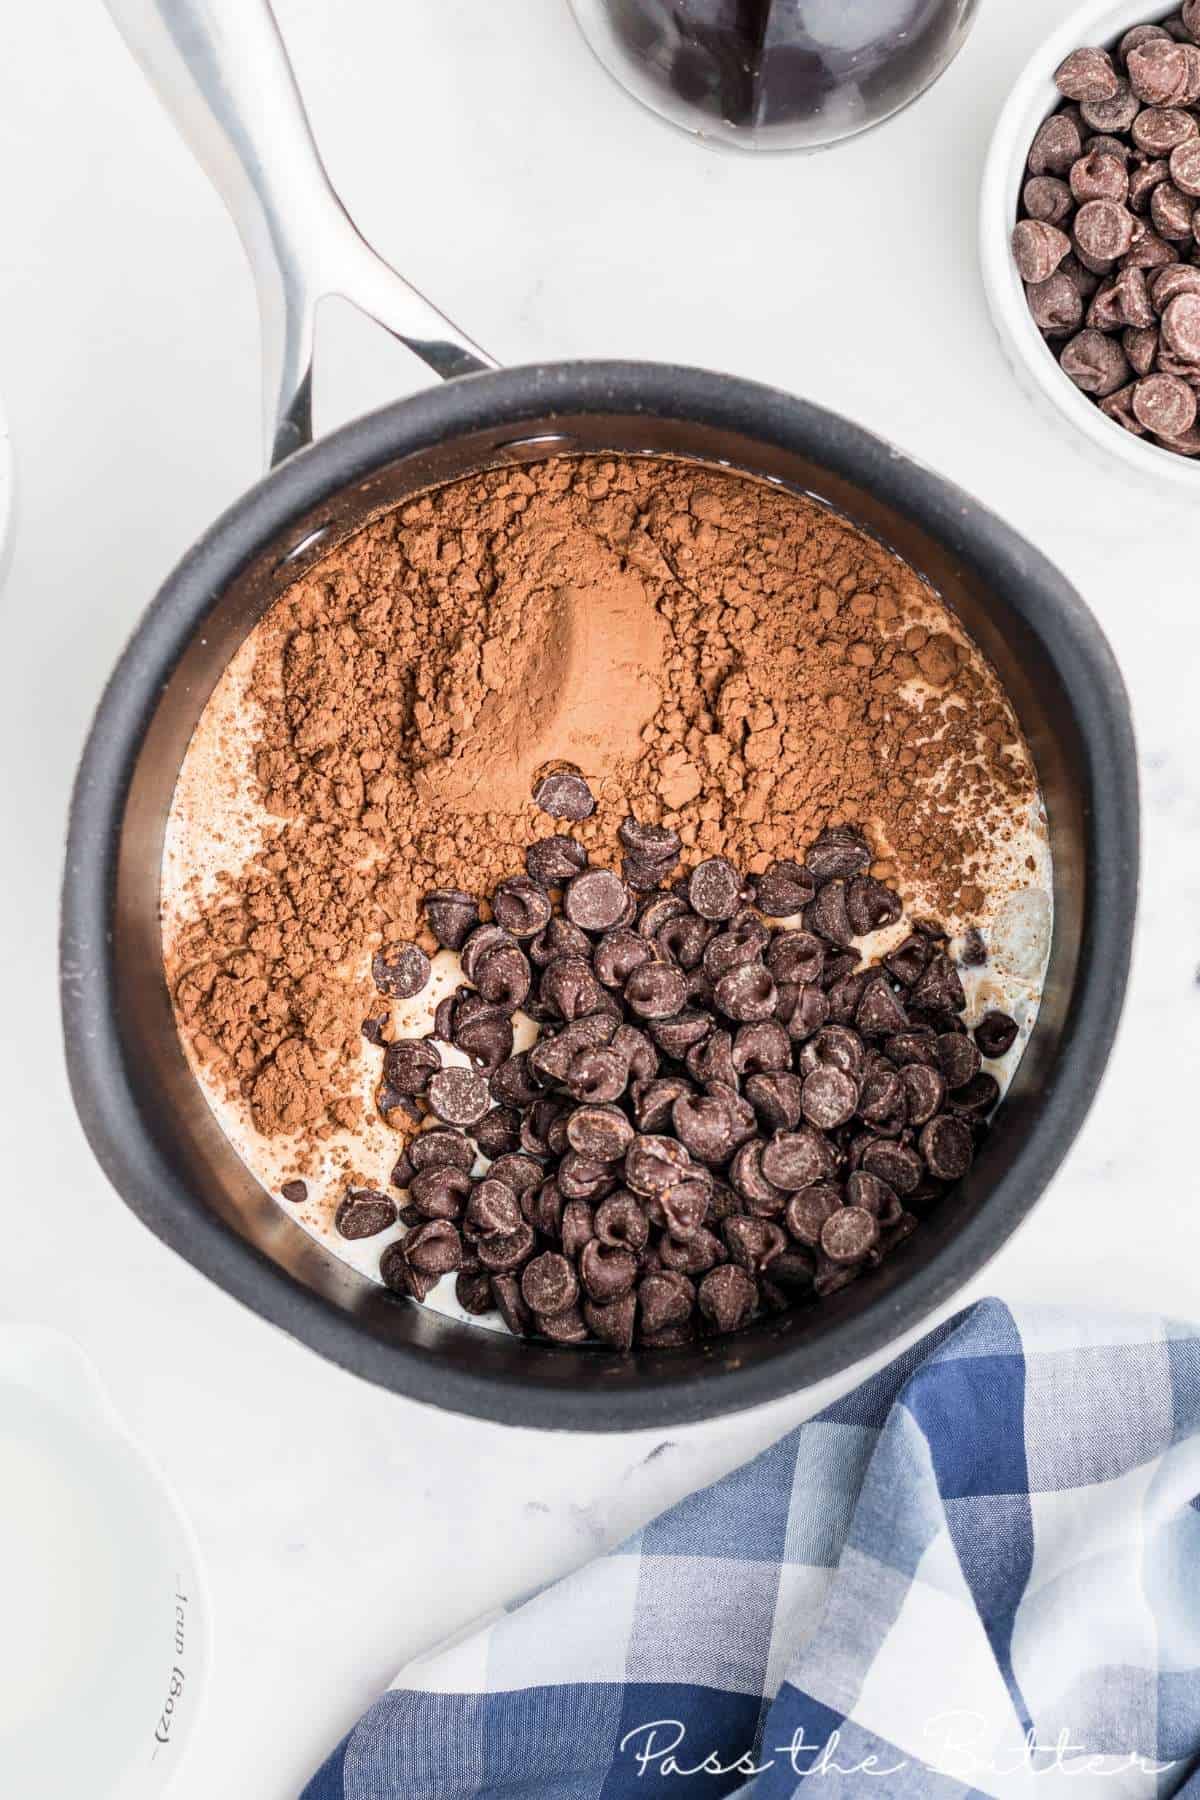
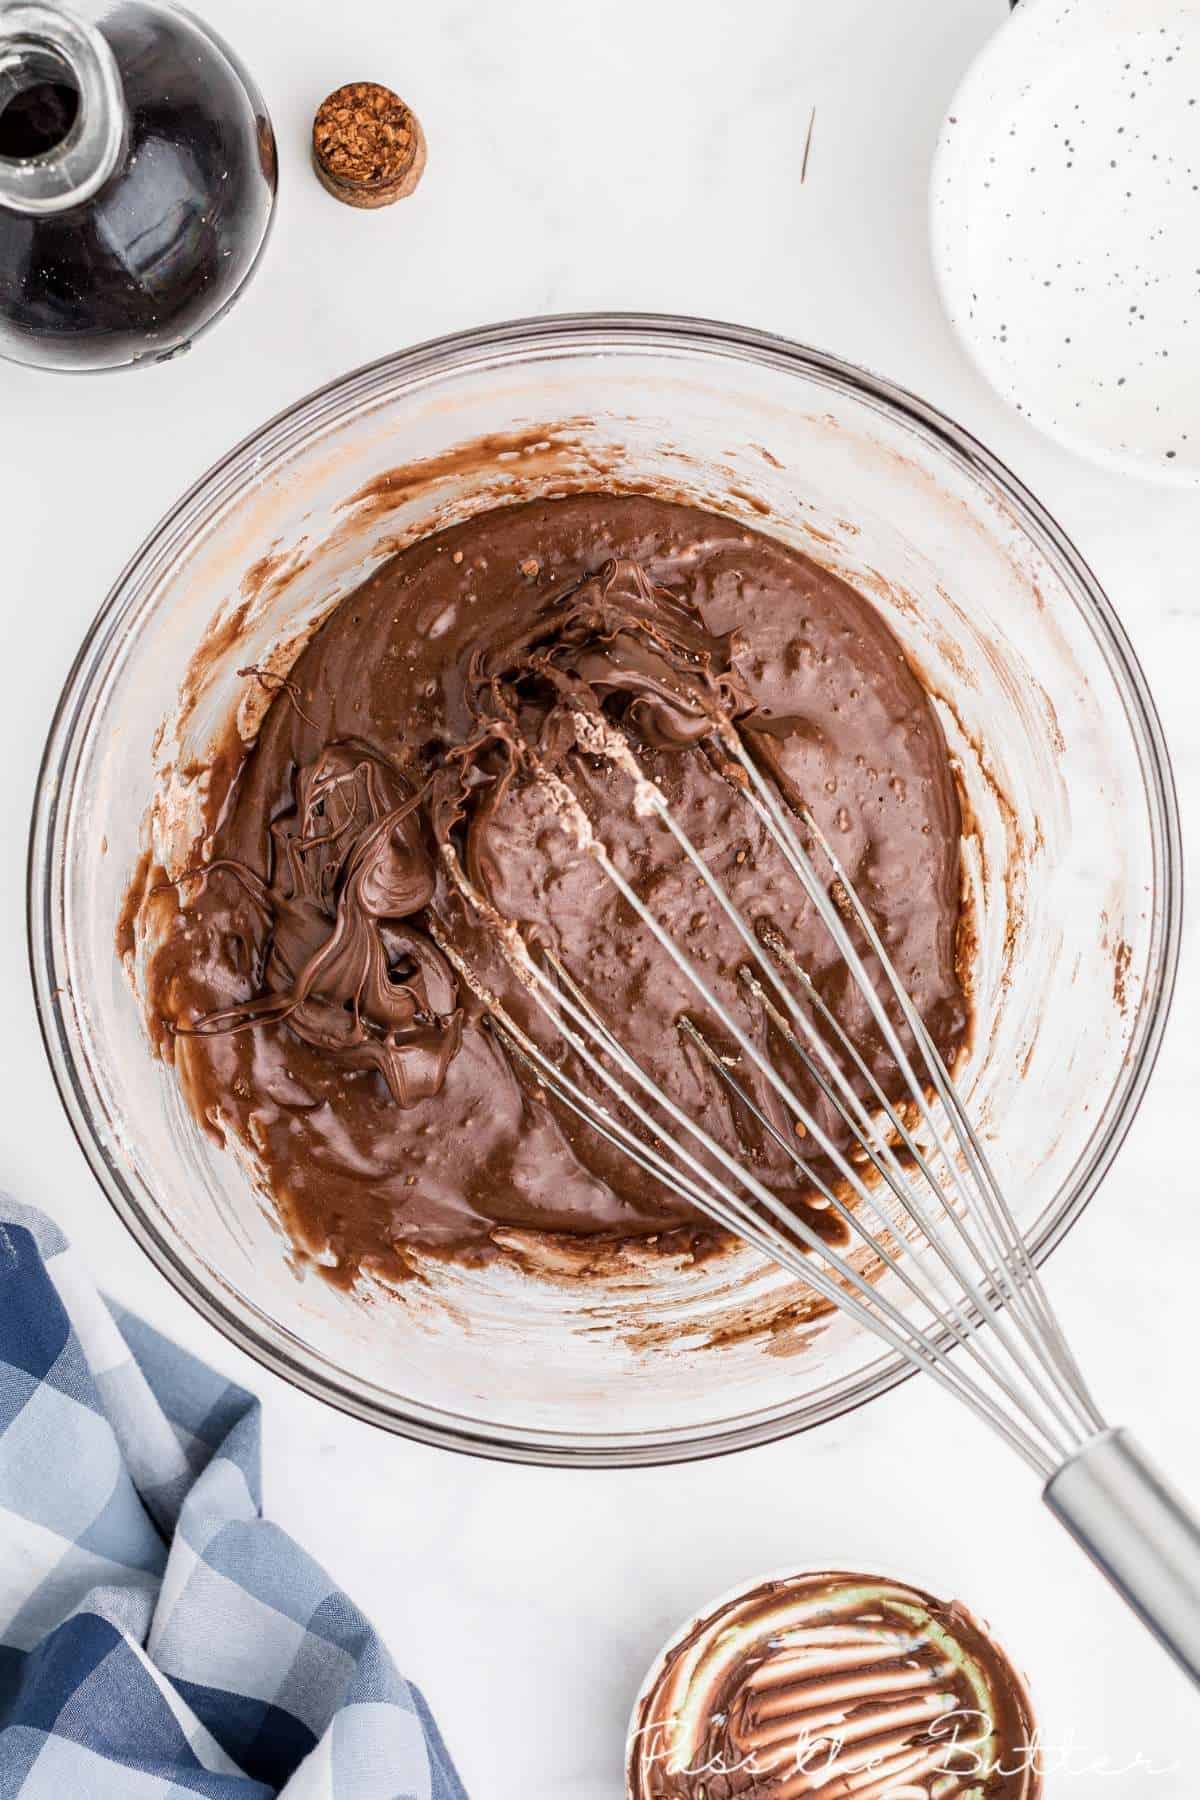
In a small saucepan, stir together the cocoa powder, milk, and 3/4 cup chocolate chips. Set over medium heat and cook, stirring, for 5-8 minutes, until the chocolate is melted and the sauce has thickened slightly.
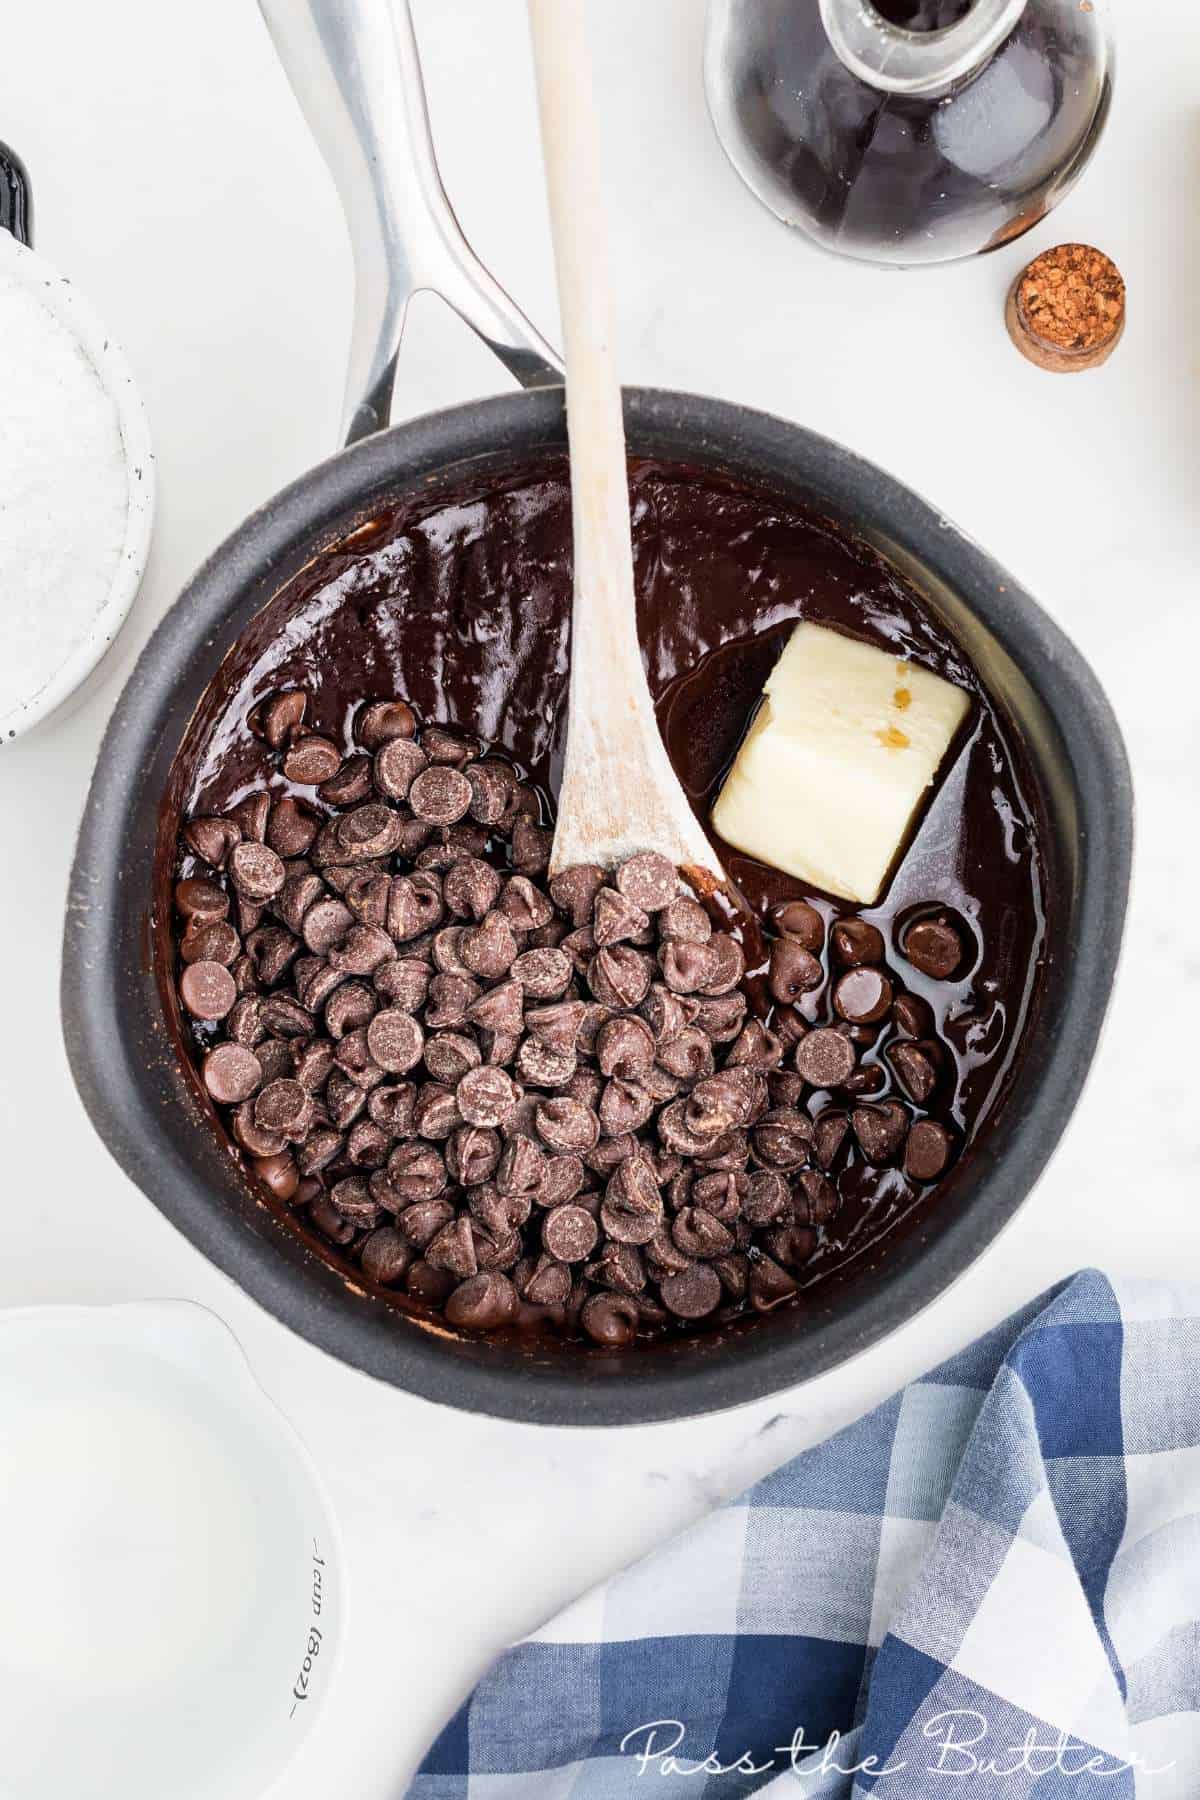
Remove from heat, stir in the remaining 3/4 cup chocolate chips, the butter, and vanilla until smooth. Transfer to the fridge to cool and thicken, at least 30 minutes.
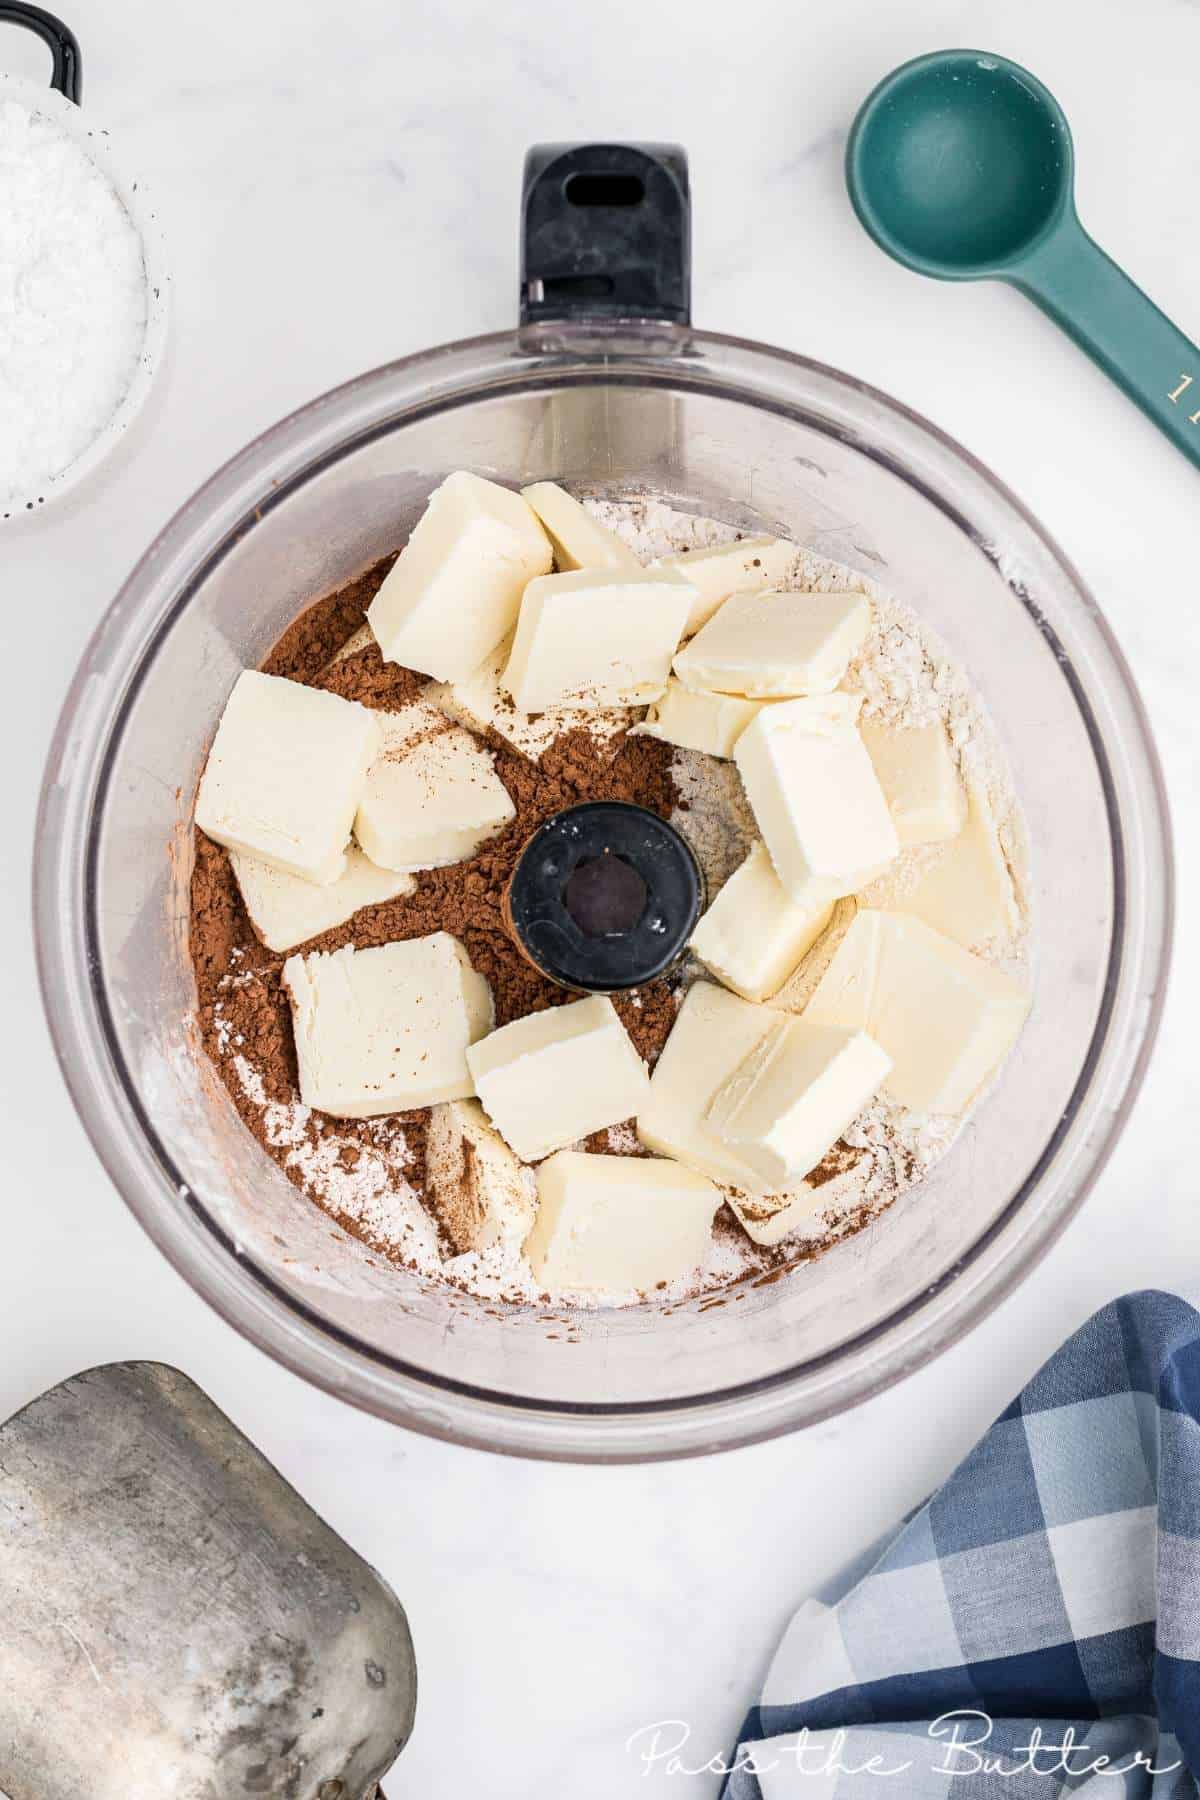
In a food processor, combine the flour, cocoa powder, sugar, and butter.
Pulse until the mix clumps together to forms pea-size balls.
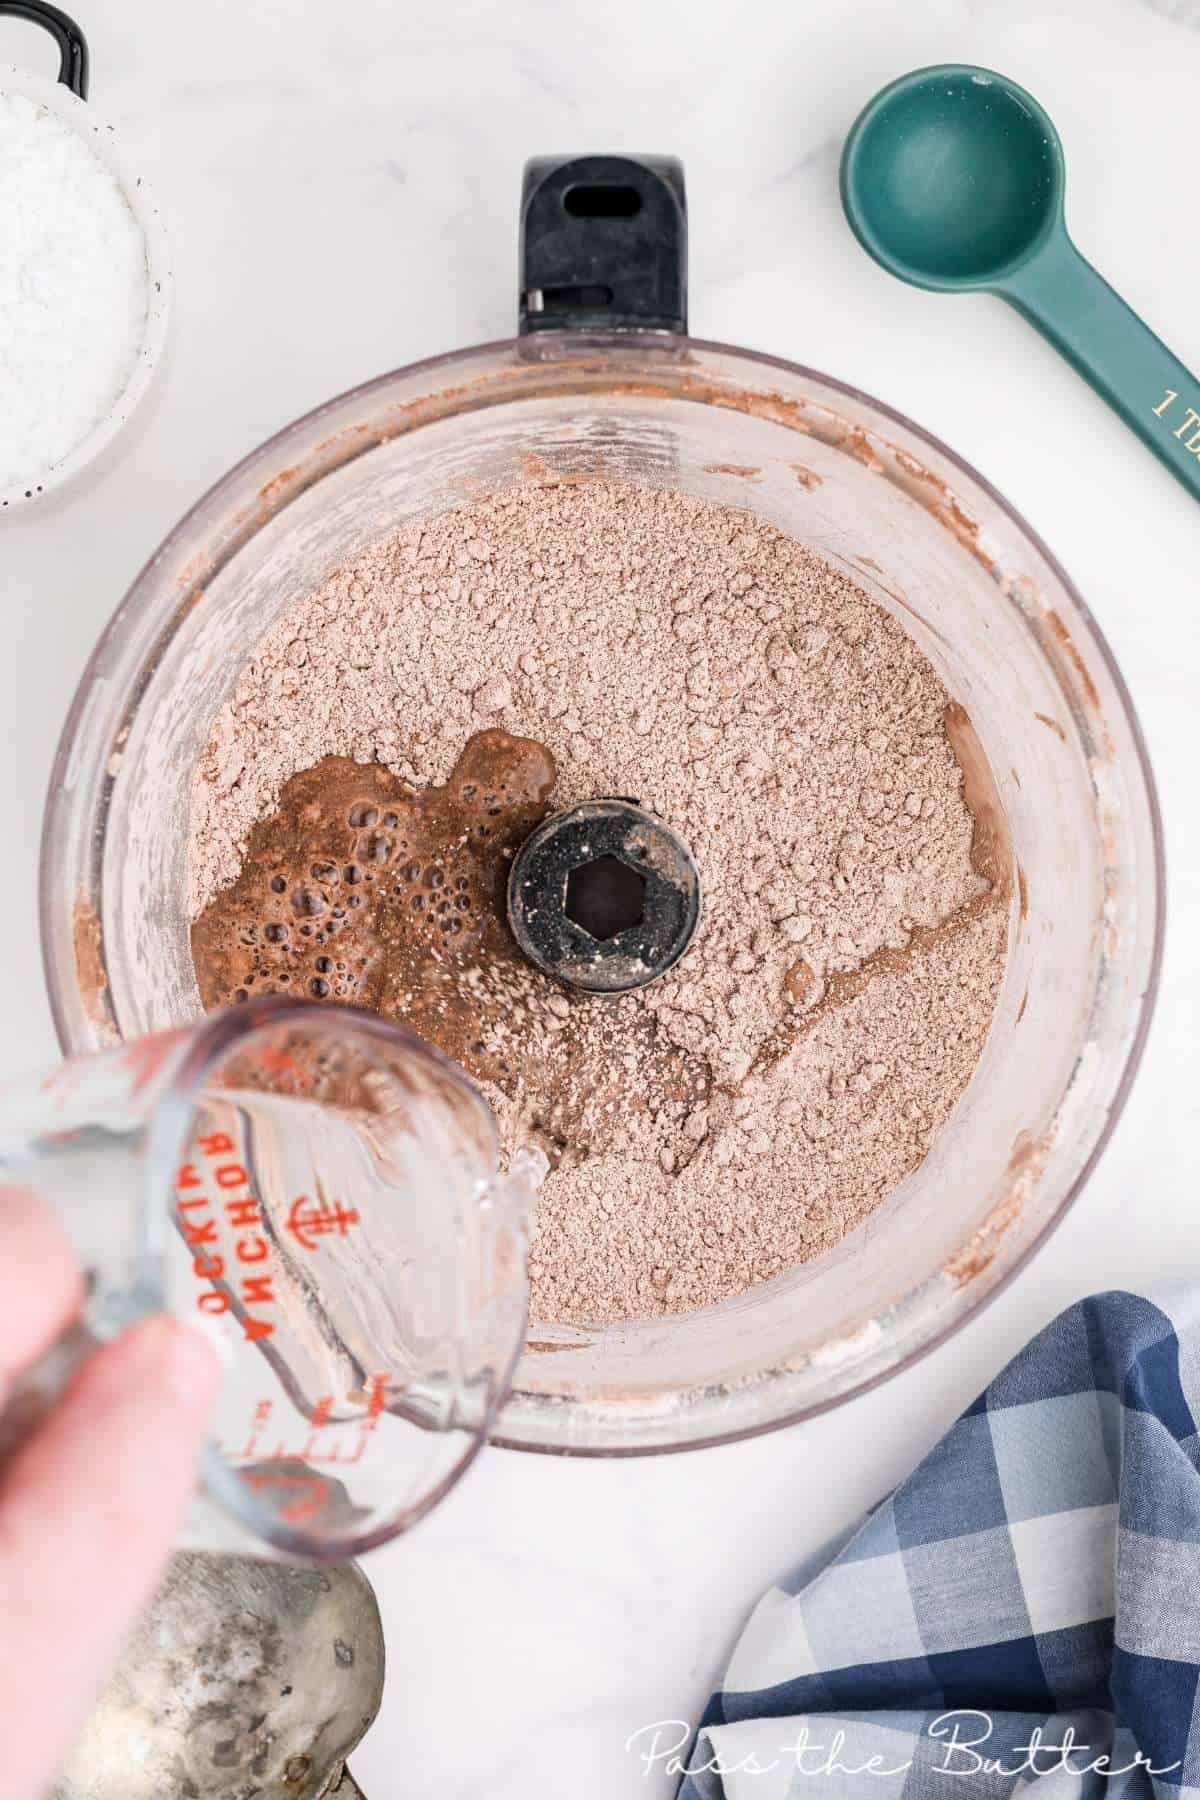
Add 1/2 cup cold water, 1 tablespoon at a time until the dough comes together and forms a ball. If the dough feels dry, add 1-2 tablespoons additional water.
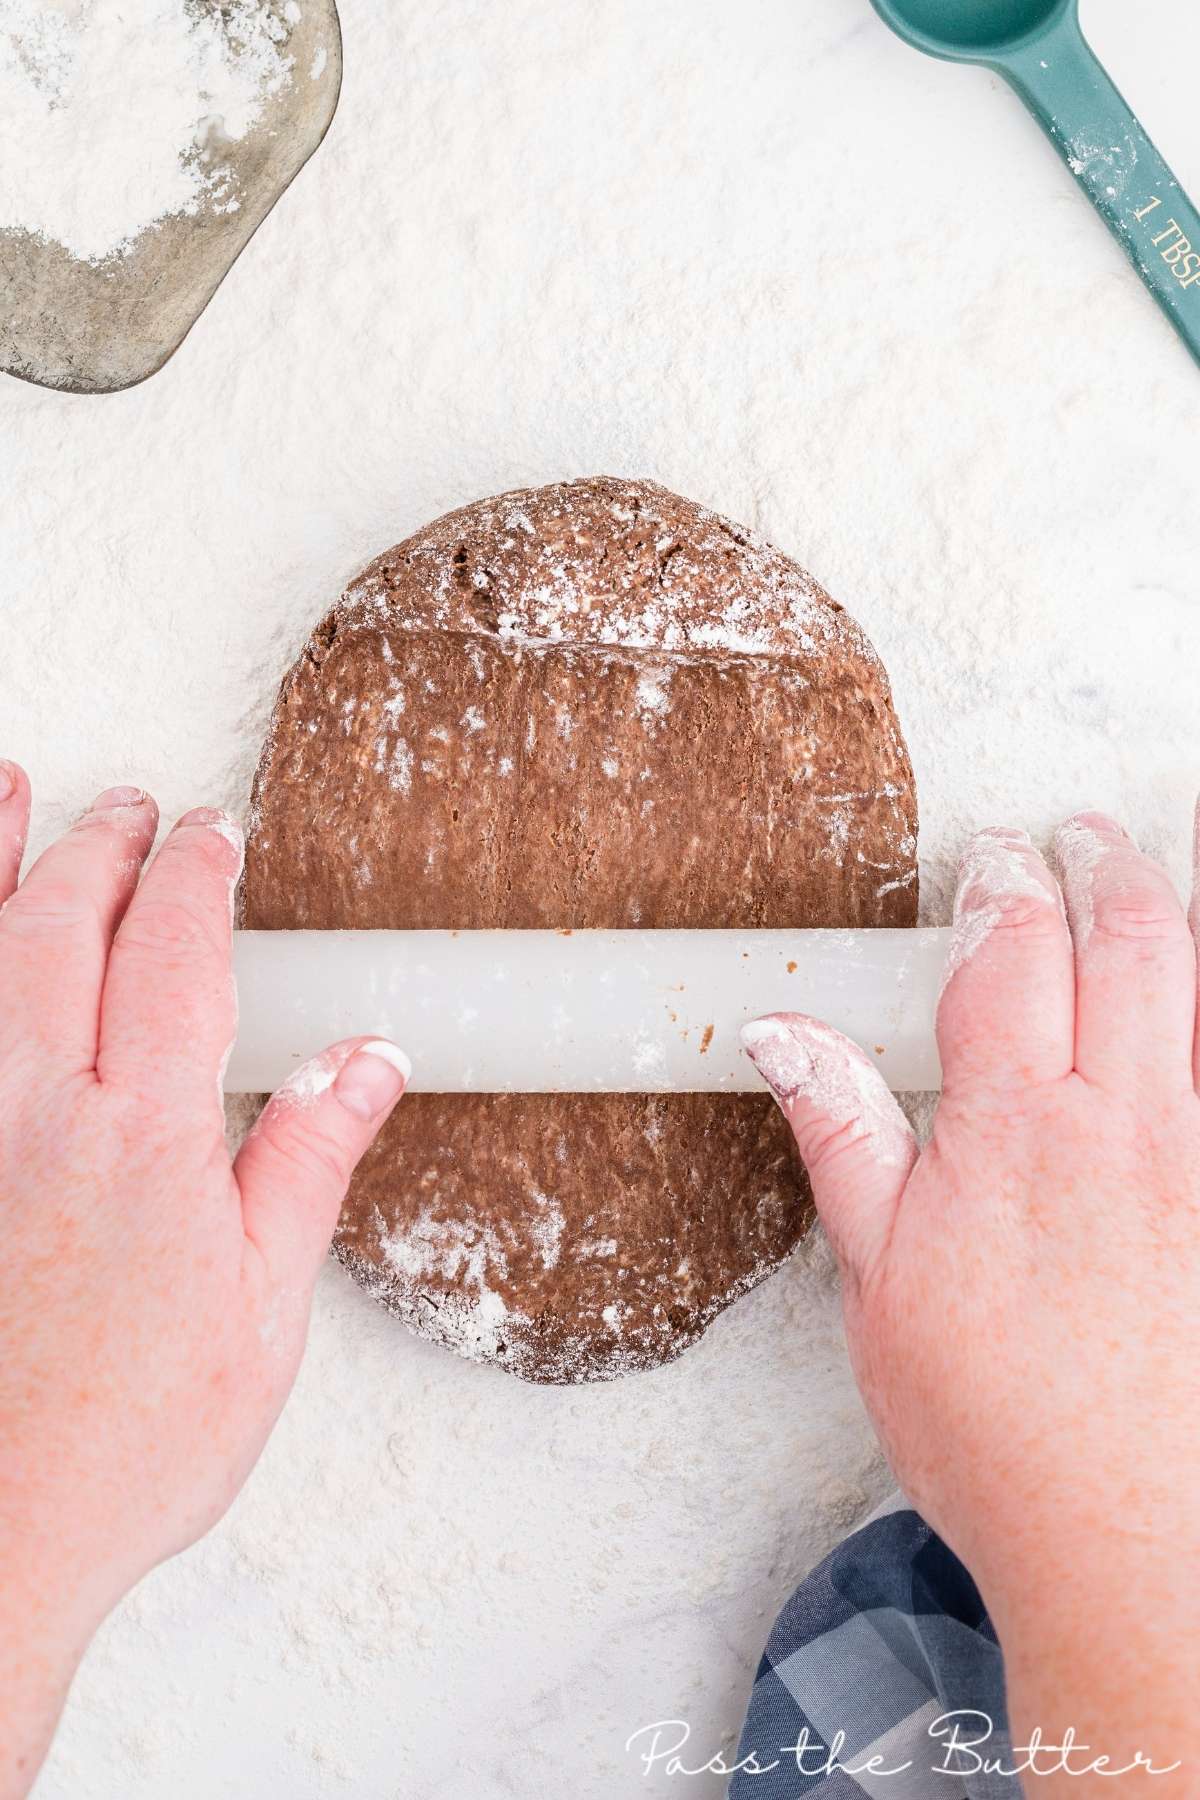
Turn the dough out onto a floured surface. Using a rolling pin, roll out into an 1/8-inch thickness.
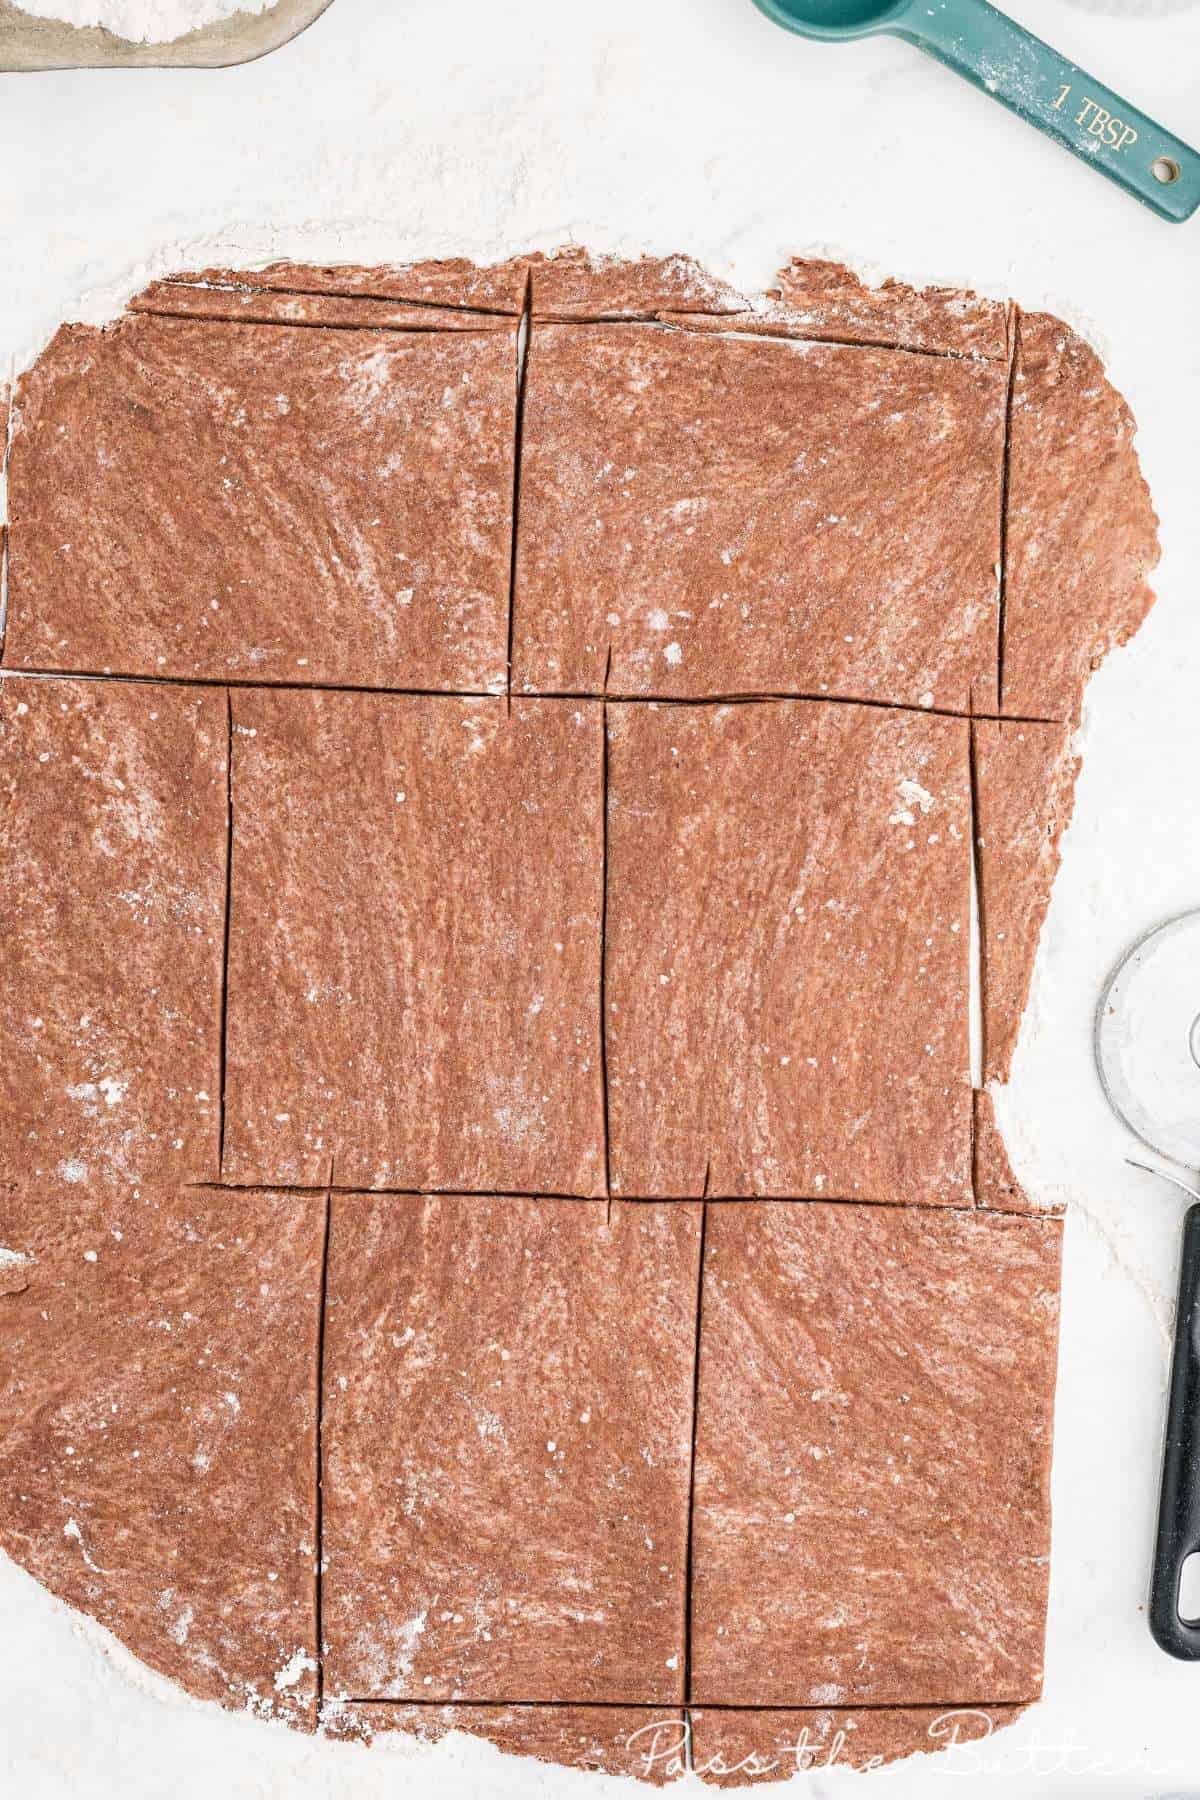
Cut the chocolate pastry dough into 4 x 3 inch rectangles, using a pastry cutter or a sharp knife. Transfer half of the rectangles to parchment lined baking sheets.
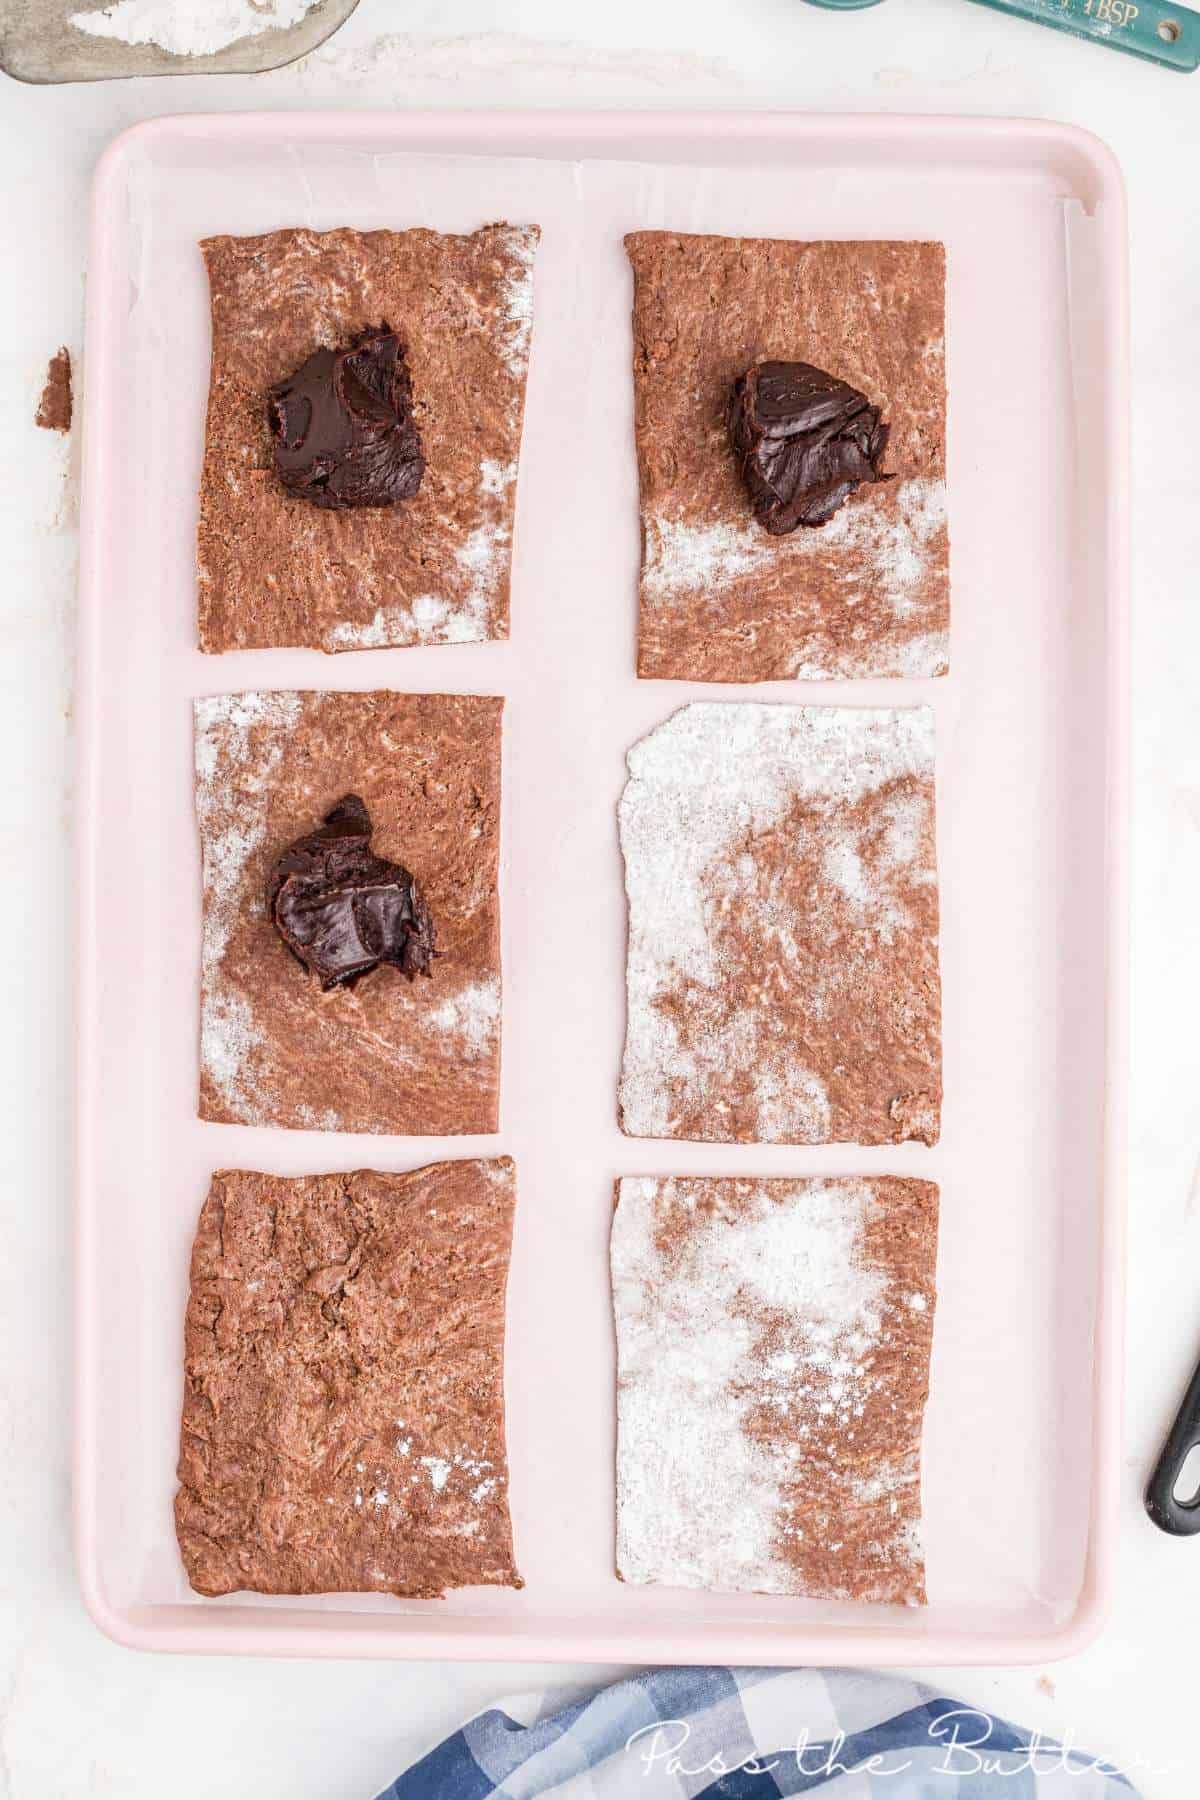
Place a tablespoon of the chilled chocolate fudge on one half of the rectangles, leaving a 1/4 inch border.
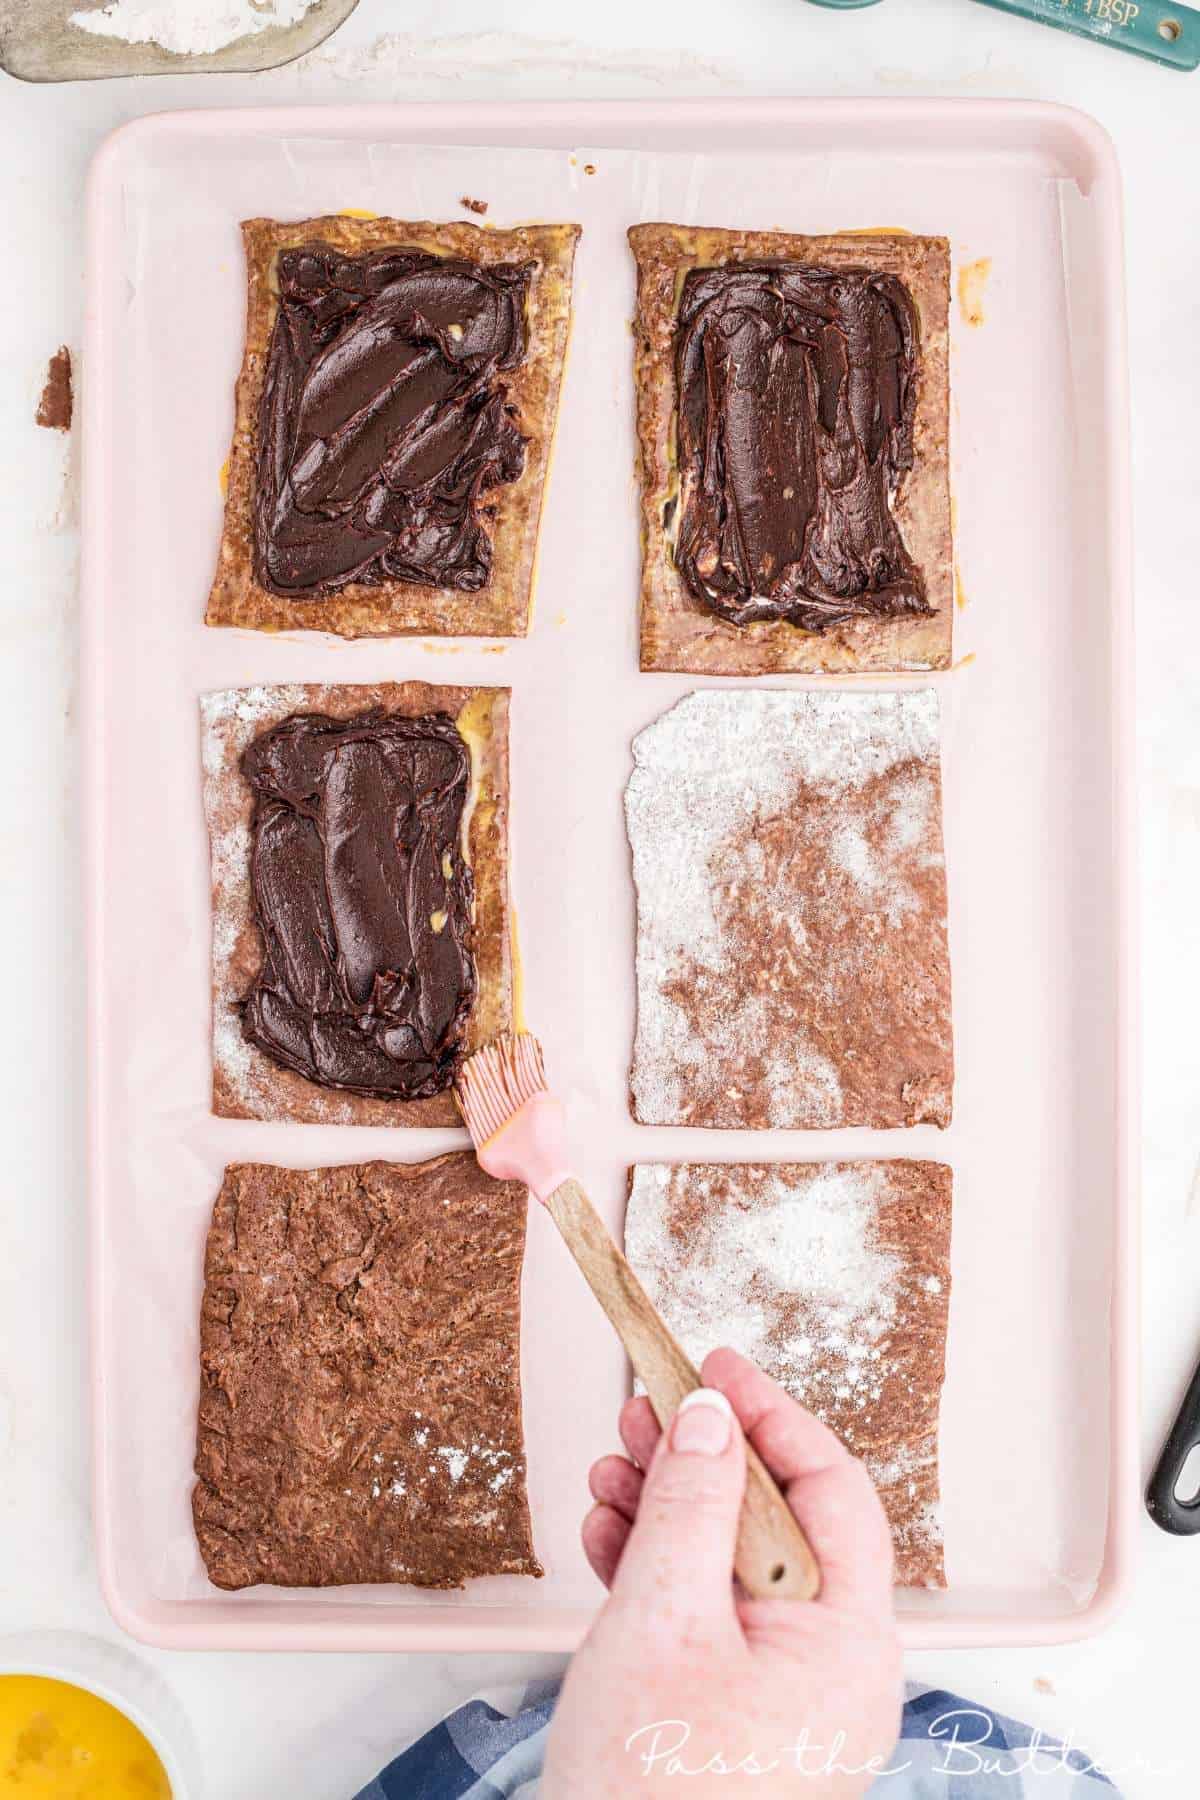
Using a pastry brush, brush the edges with the beaten egg.
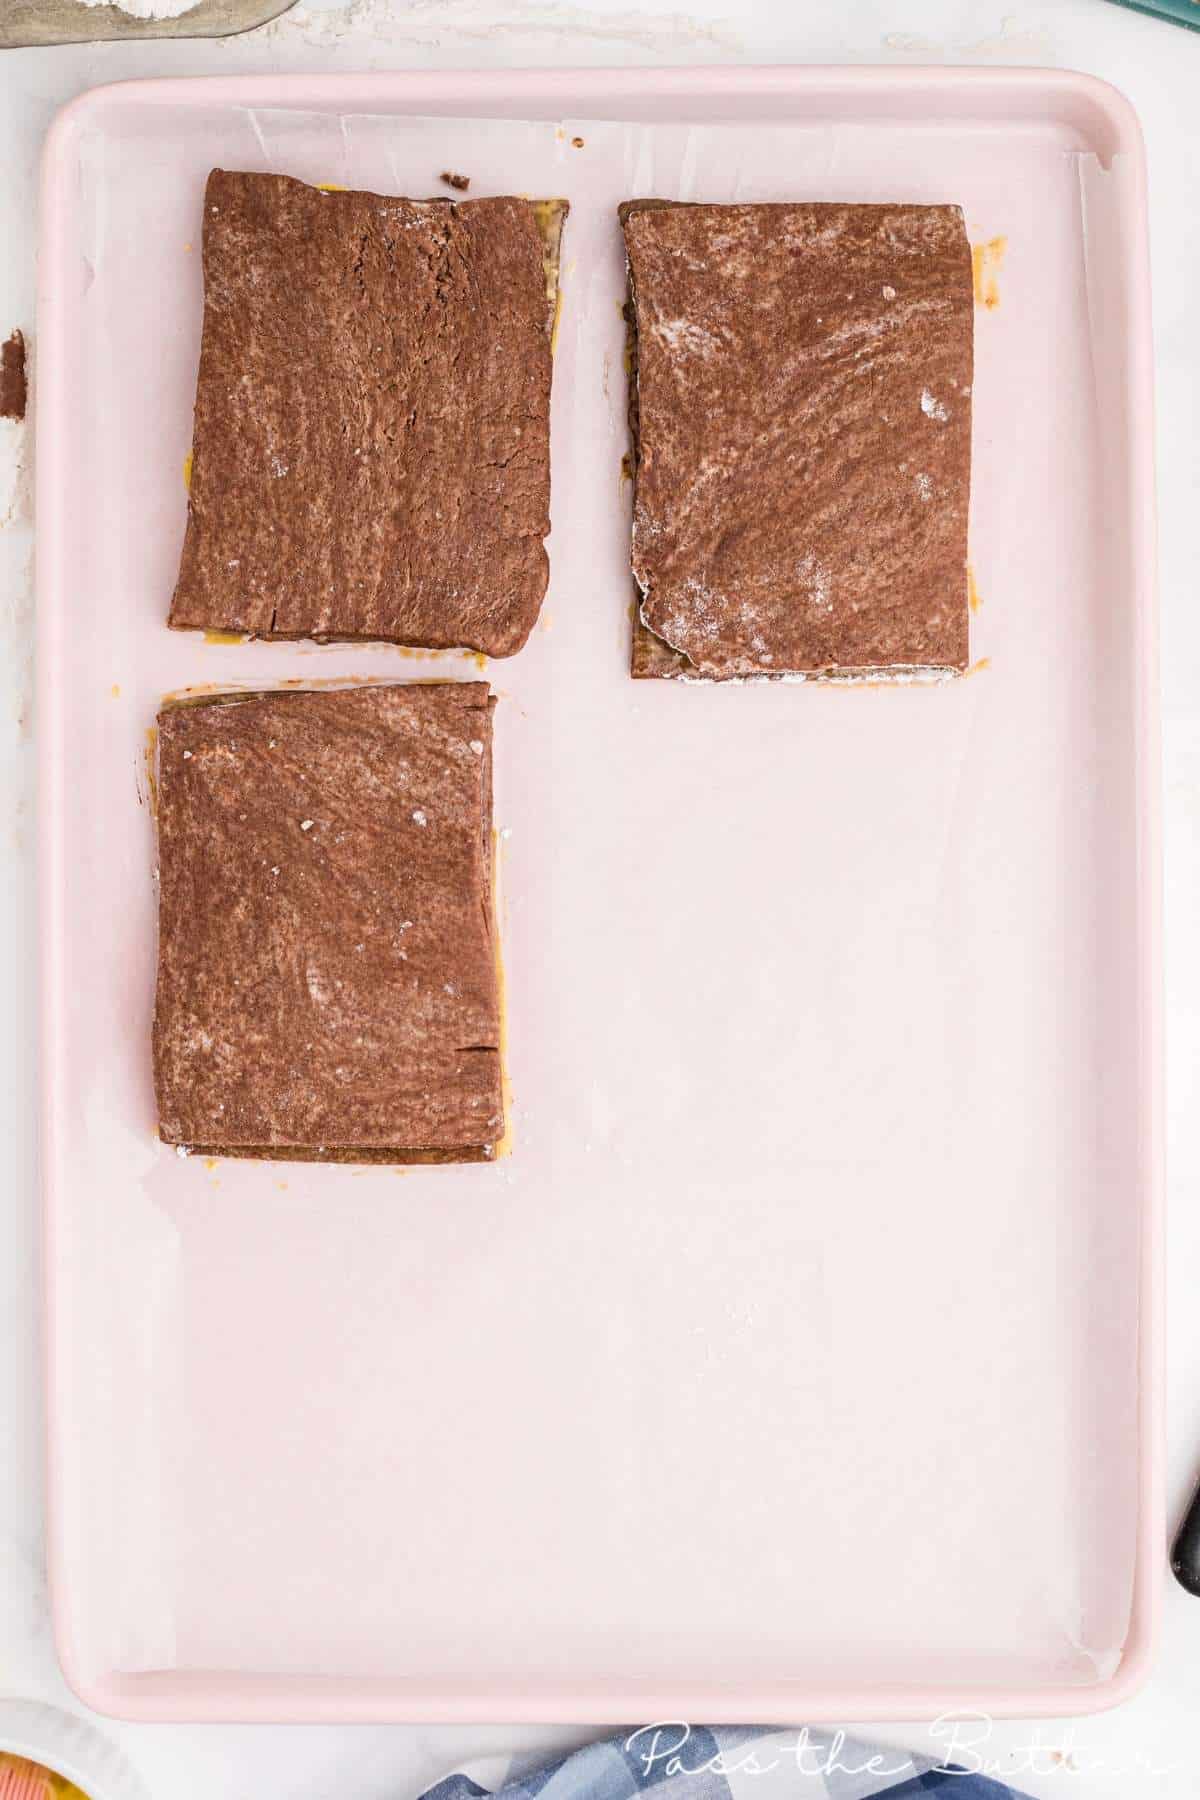
Lay the other half of the dough over the filling.
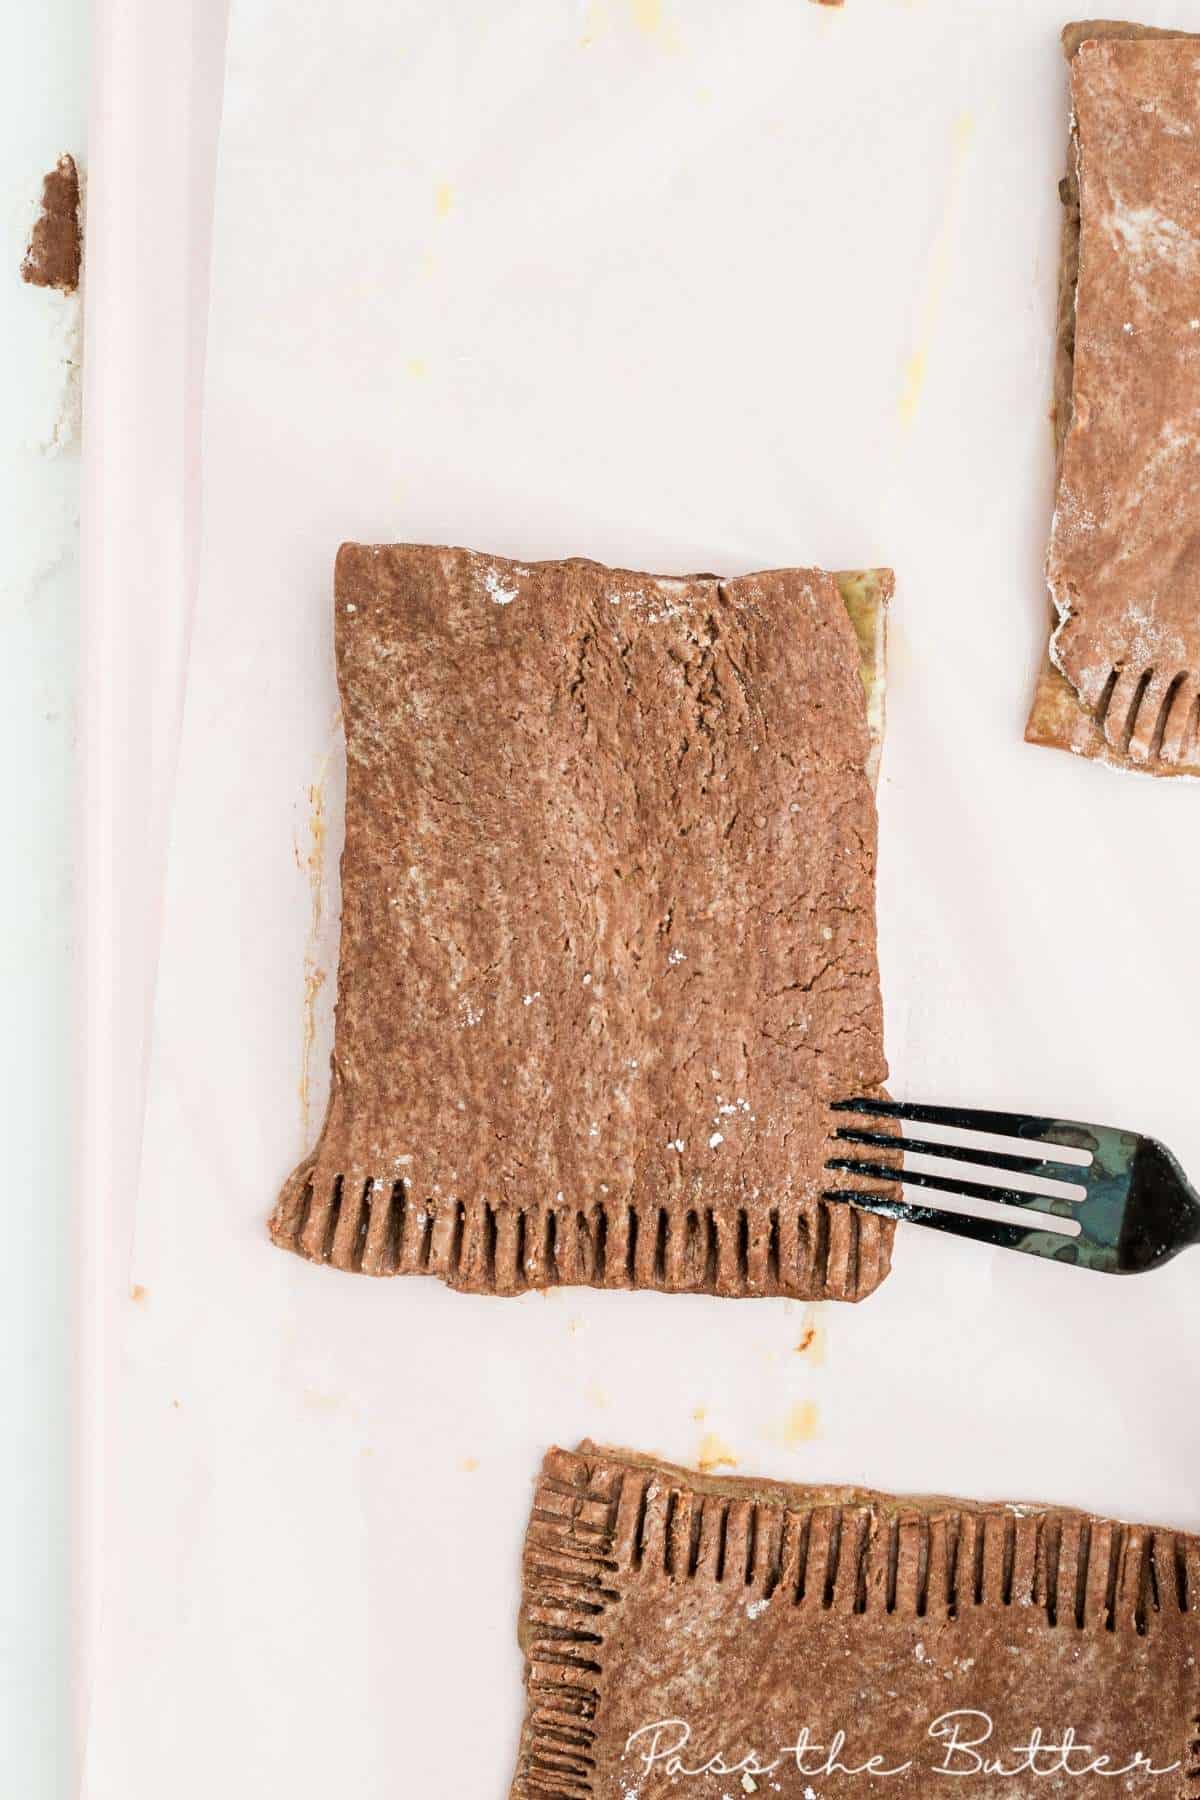
Seal the edges by crimping with the back of a fork. Repeat until you’ve used all the dough, you will have leftover fudge.
Cover the baking sheets with plastic wrap and place in the fridge for 1 hour(or the 20 minutes in the freezer).
Preheat the oven to 400 degrees F. Bake the pop tarts for 15-20 minutes. The pop tarts will still leak a little. Cool completely before frosting.
To Make The Frosting:
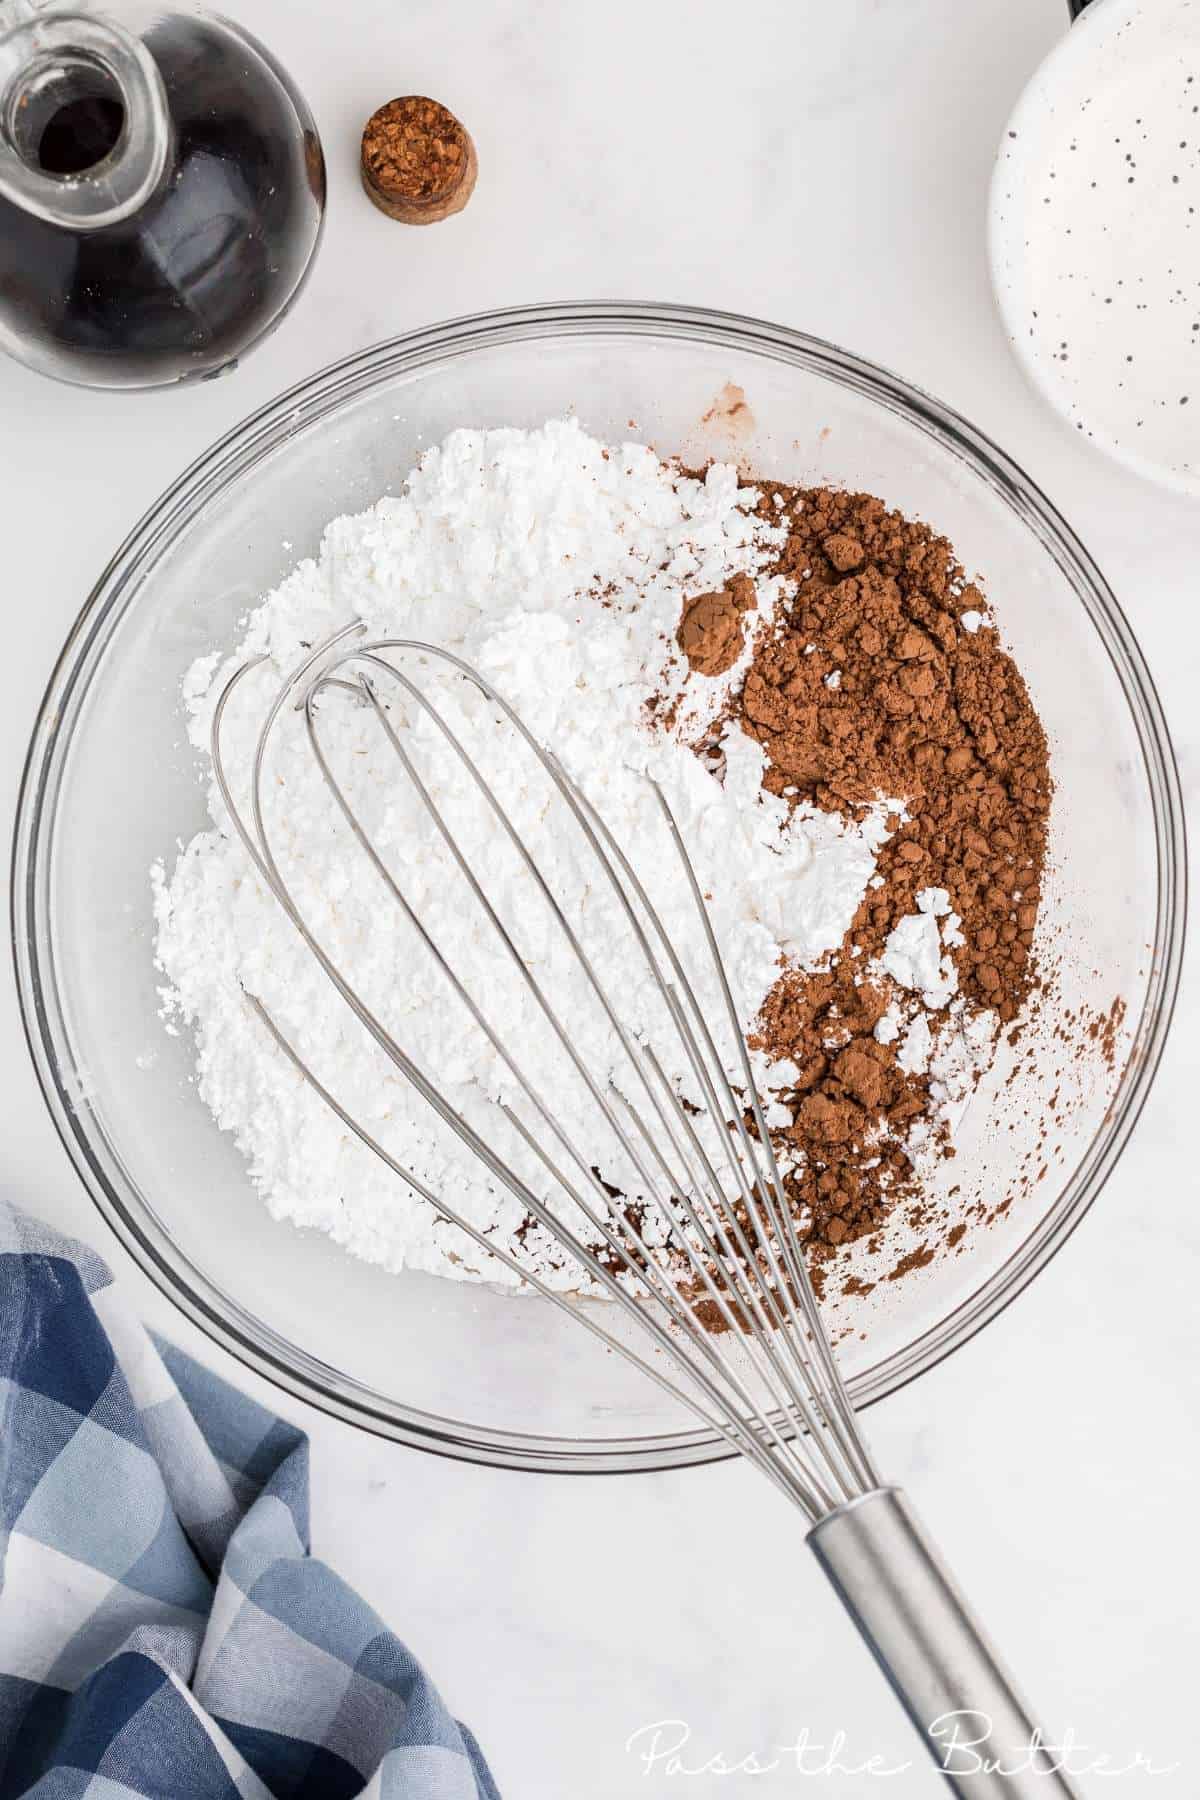
In a medium bowl, whisk together the powdered sugar, cocoa powder, vanilla, and 3 tablespoons water until smooth.
Stir in the melted chocolate. If your frosting is too thick, thin with 1-2 tablespoons additional water.
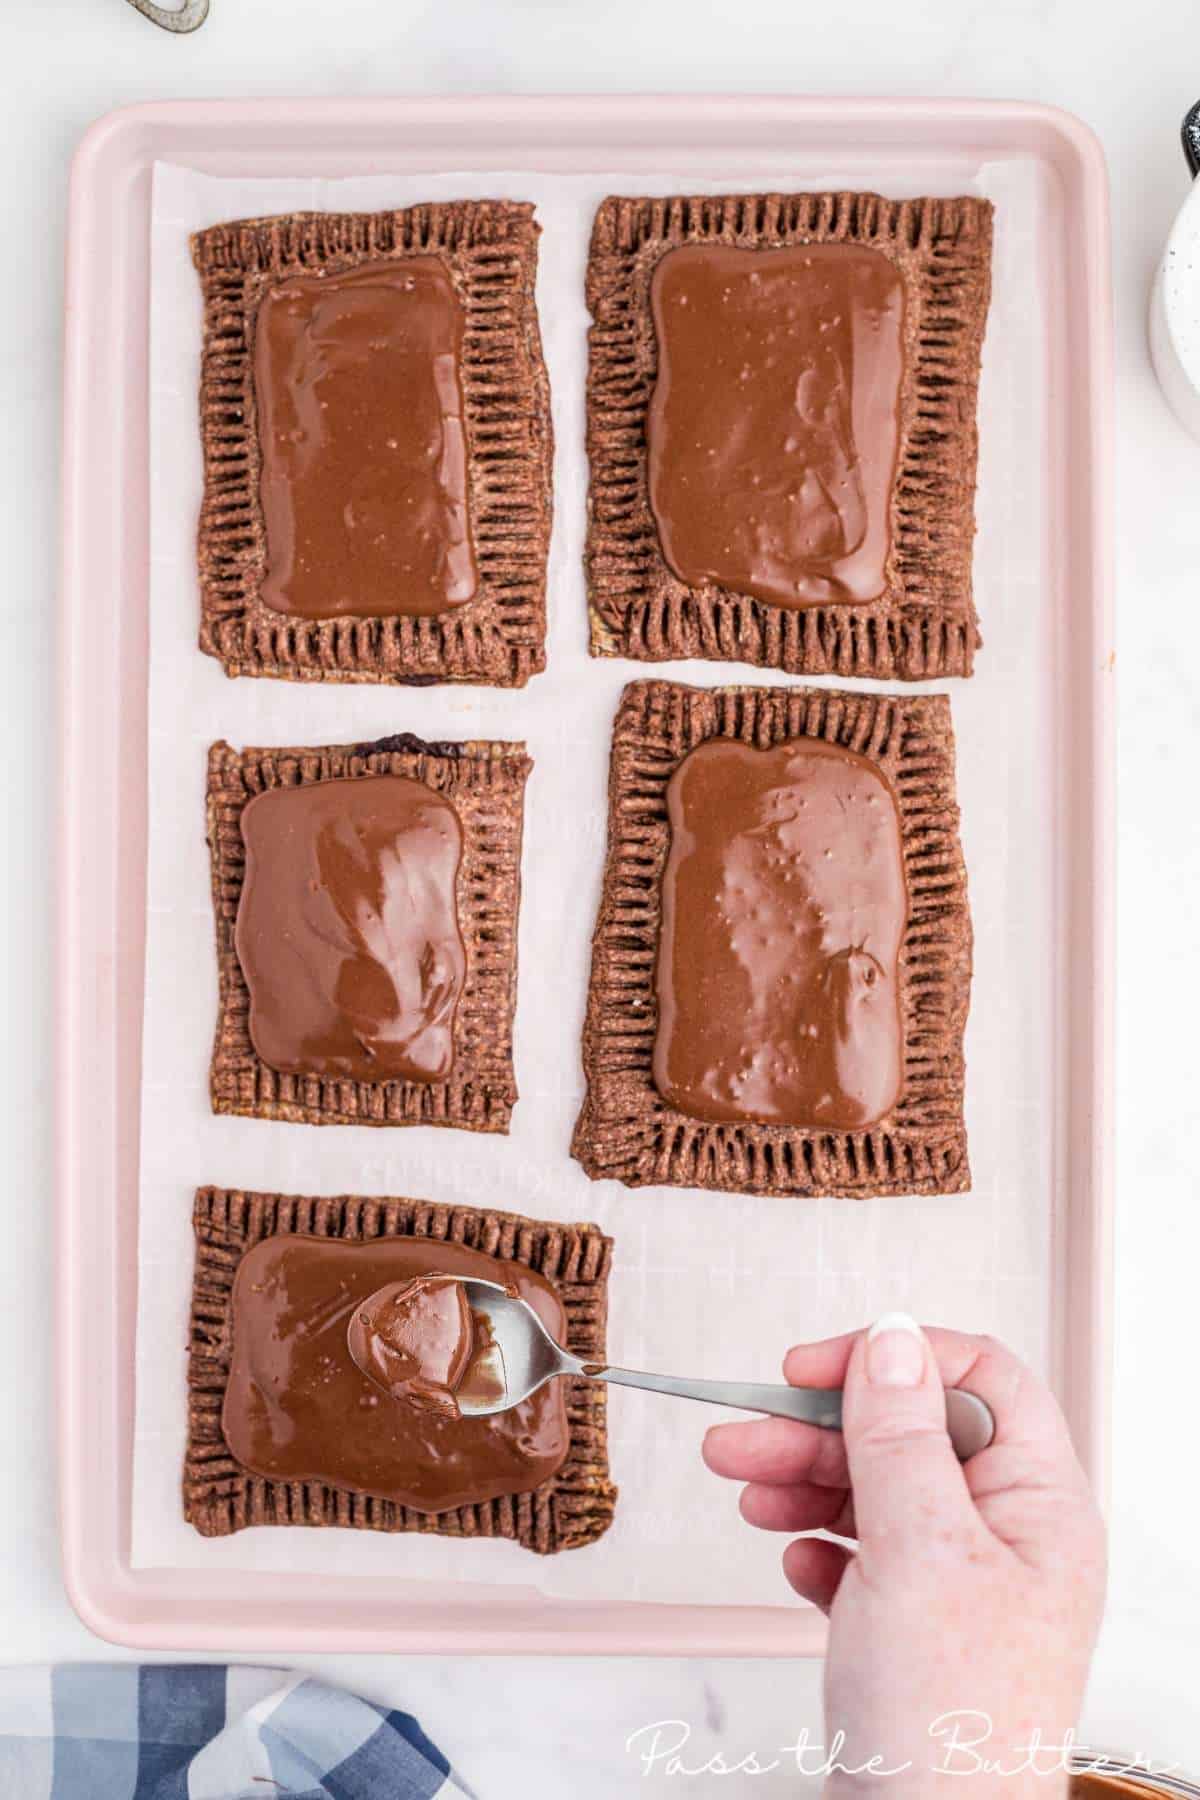
Spoon a thin layer of the frosting on top of the cooled pop-tarts. Allow frosting to harden 10 minutes.
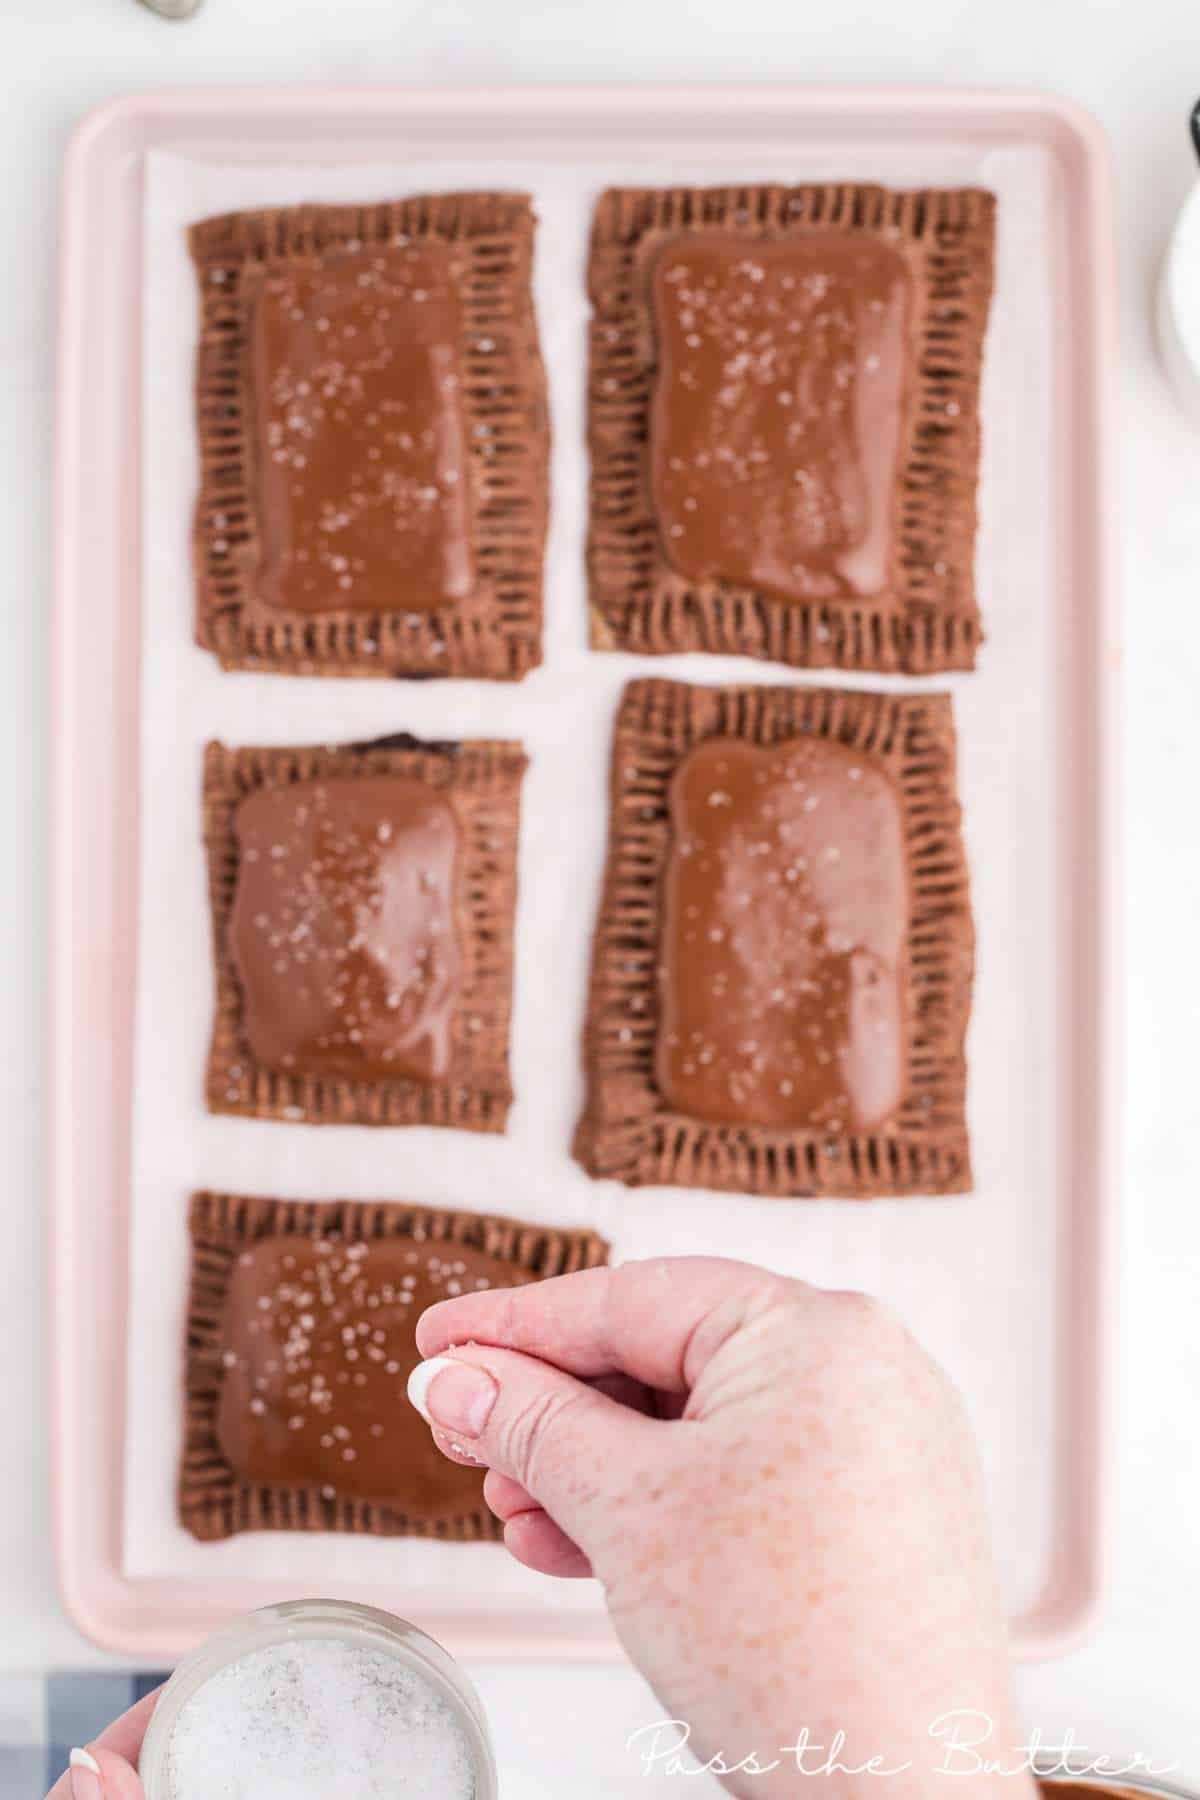
Sprinkle with coarse sugar or salt.
Place on a baking sheet and allow the pop tarts to harden, uncovered, about 2 hours.
TIP
Use festive sprinkles instead of sugar/salt for holidays, birthday parties, or even Christmas!
Storage
Store in an airtight container at room temperature for up to 3 days.
Frequently Asked Questions
This is actually coarse sugar on the store-bought version, but you could use coarse salt or even use white sprinkles.
Yes, in this recipe they do. There’s the cocoa powder as well as the melted chocolate that is in the fudge filled center as well as in the chocolate icing.
If you have kids they will absolutely love these homemade chocolate pop tarts. They taste so much better than the store-bought variety – they’ll wonder what they did to deserve such a treat!
If you don’t have kids, you can still make them – they will take you back to your own childhood and remind you how sweet life can be!

Chocolate Pop Tarts
Ingredients
Chocolate Filling
- 1/4 cup unsweetened cocoa powder
- 2/3 cup heavy cream
- 1 1/2 cups semi-sweet chocolate chips
- 2 tablespoons salted butter cubed
- 2 teaspoons vanilla extract
Pop Tart Dough
- 2 1/4 cups all-purpose flour
- 1/4 cup unsweetened cocoa powder
- 1 tablespoon granulated sugar
- 2 sticks 1 cup cold salted butter, cut into 1/2 inch pieces
- 1 egg beaten, for brushing
Frosting
- 2 cups confectioner’s sugar
- 2 tablespoons unsweetened cocoa powder
- 1 tablespoon vanilla extract
- 2 ounces milk chocolate melted
- coarse salt or sugar for sprinkling
Instructions
- To make the chocolate fudge filling: In a small saucepan, stir together the cocoa powder, milk, and 3/4 cup chocolate chips.
- Set over medium heat and cook, stirring, for 5-8 minutes, until the chocolate is melted and the sauce has thickened slightly.
- Remove from heat, stir in the remaining 3/4 cup chocolate chips, the butter, and vanilla until smooth. Transfer to the fridge to cool and thicken, at least 30 minutes.
- Meanwhile, make the dough. In a food processor, combine the flour, cocoa powder, sugar, and butter.
- Pulse until the mix clumps together to forms pea-size balls.
- Add 1/2 cup cold water, 1 tablespoon at a time until the dough comes together and forms a ball. If the dough feels dry, add 1-2 tablespoons additional water.
- If you don’t have a food processor, you can also do this by hand. Just rub the butter into the dry ingredients using your fingers until you have pea-sized balls.
- Turn the dough out onto a floured surface. Roll out into a 1/8-inch thickness.
- Cut the dough into rectangles, about 4 x 3 inches.
- Place a tablespoon of the chilled chocolate fudge on one half of the rectangles, leaving a 1/4 inch border.
- Brush the edges with the beaten egg. Lay the other half of the dough over the filling and seal the edges by crimping with the back of a fork.
- Repeat until you’ve used all the dough, you will have leftover fudge.
- Place the pop tarts on parchment-lined baking sheets. Cover the baking sheets and place in the fridge for 1 hour or the freezer for 20 minutes.
- Preheat the oven to 400 degrees F. Bake the pop tarts for 15-20 minutes. The pop tarts will still leak a little. Cool completely before frosting.
- Make the frosting: In a medium bowl, whisk together the powdered sugar, cocoa powder, vanilla, and 3 tablespoons water until smooth. Stir in the melted chocolate. If your frosting is too thick, thin with 1-2 tablespoons additional water.
- Spoon a thin layer of the frosting on top of the cooled pop-tarts. Allow frosting to harden 10 minutes. Sprinkle with coarse sugar or salt.
- Place on a baking sheet and allow the pop tarts to harden, uncovered, about 2 hours.